
| Composition Project | |
|---|---|
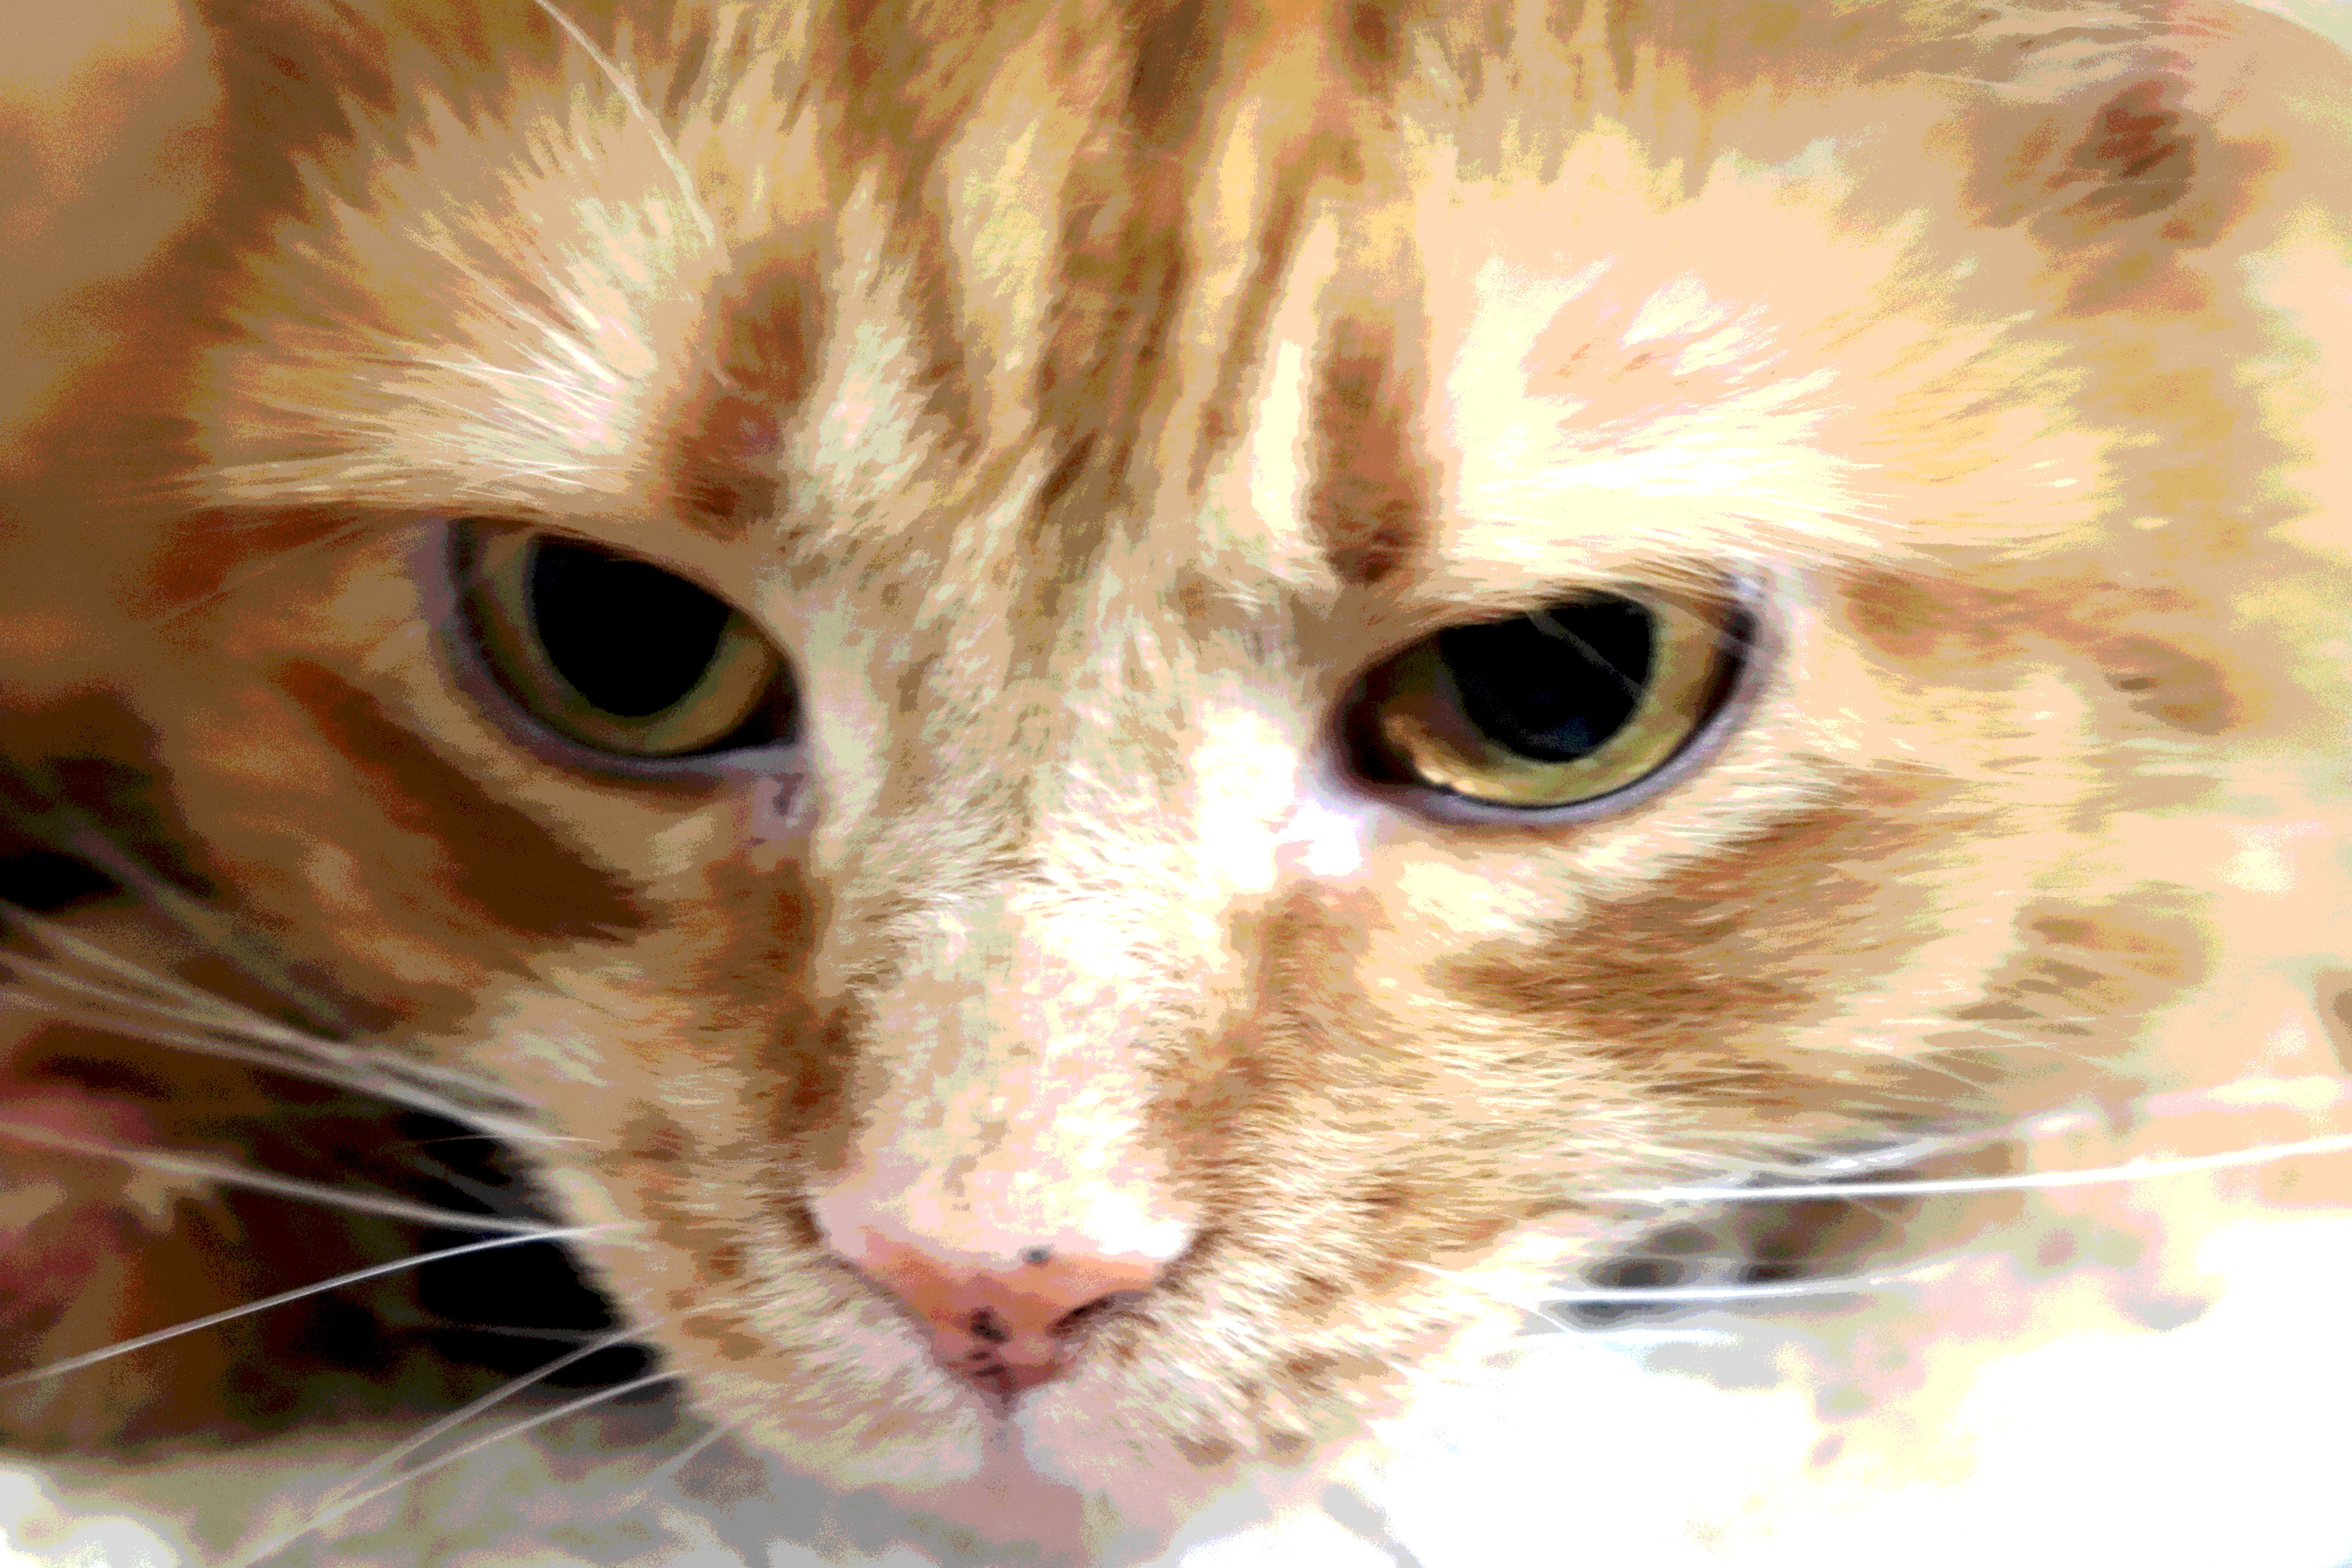 |
This photo uses fill the frame. For this photograph, I tried a few times with my cat, and she eventually sat still. When she sat still, I moved around to different angles, and this was my favorite angle. This was taken at my house, and she was laying on top of her cat tree, acting like she's looking down at everyone in the house. I edited my photograph using the posturize to make it look partially like it's colored by a child using colored pencils. I wanted this photograph to look somewhat realistic, but also look like it was something that someone may have hand made themselves. |
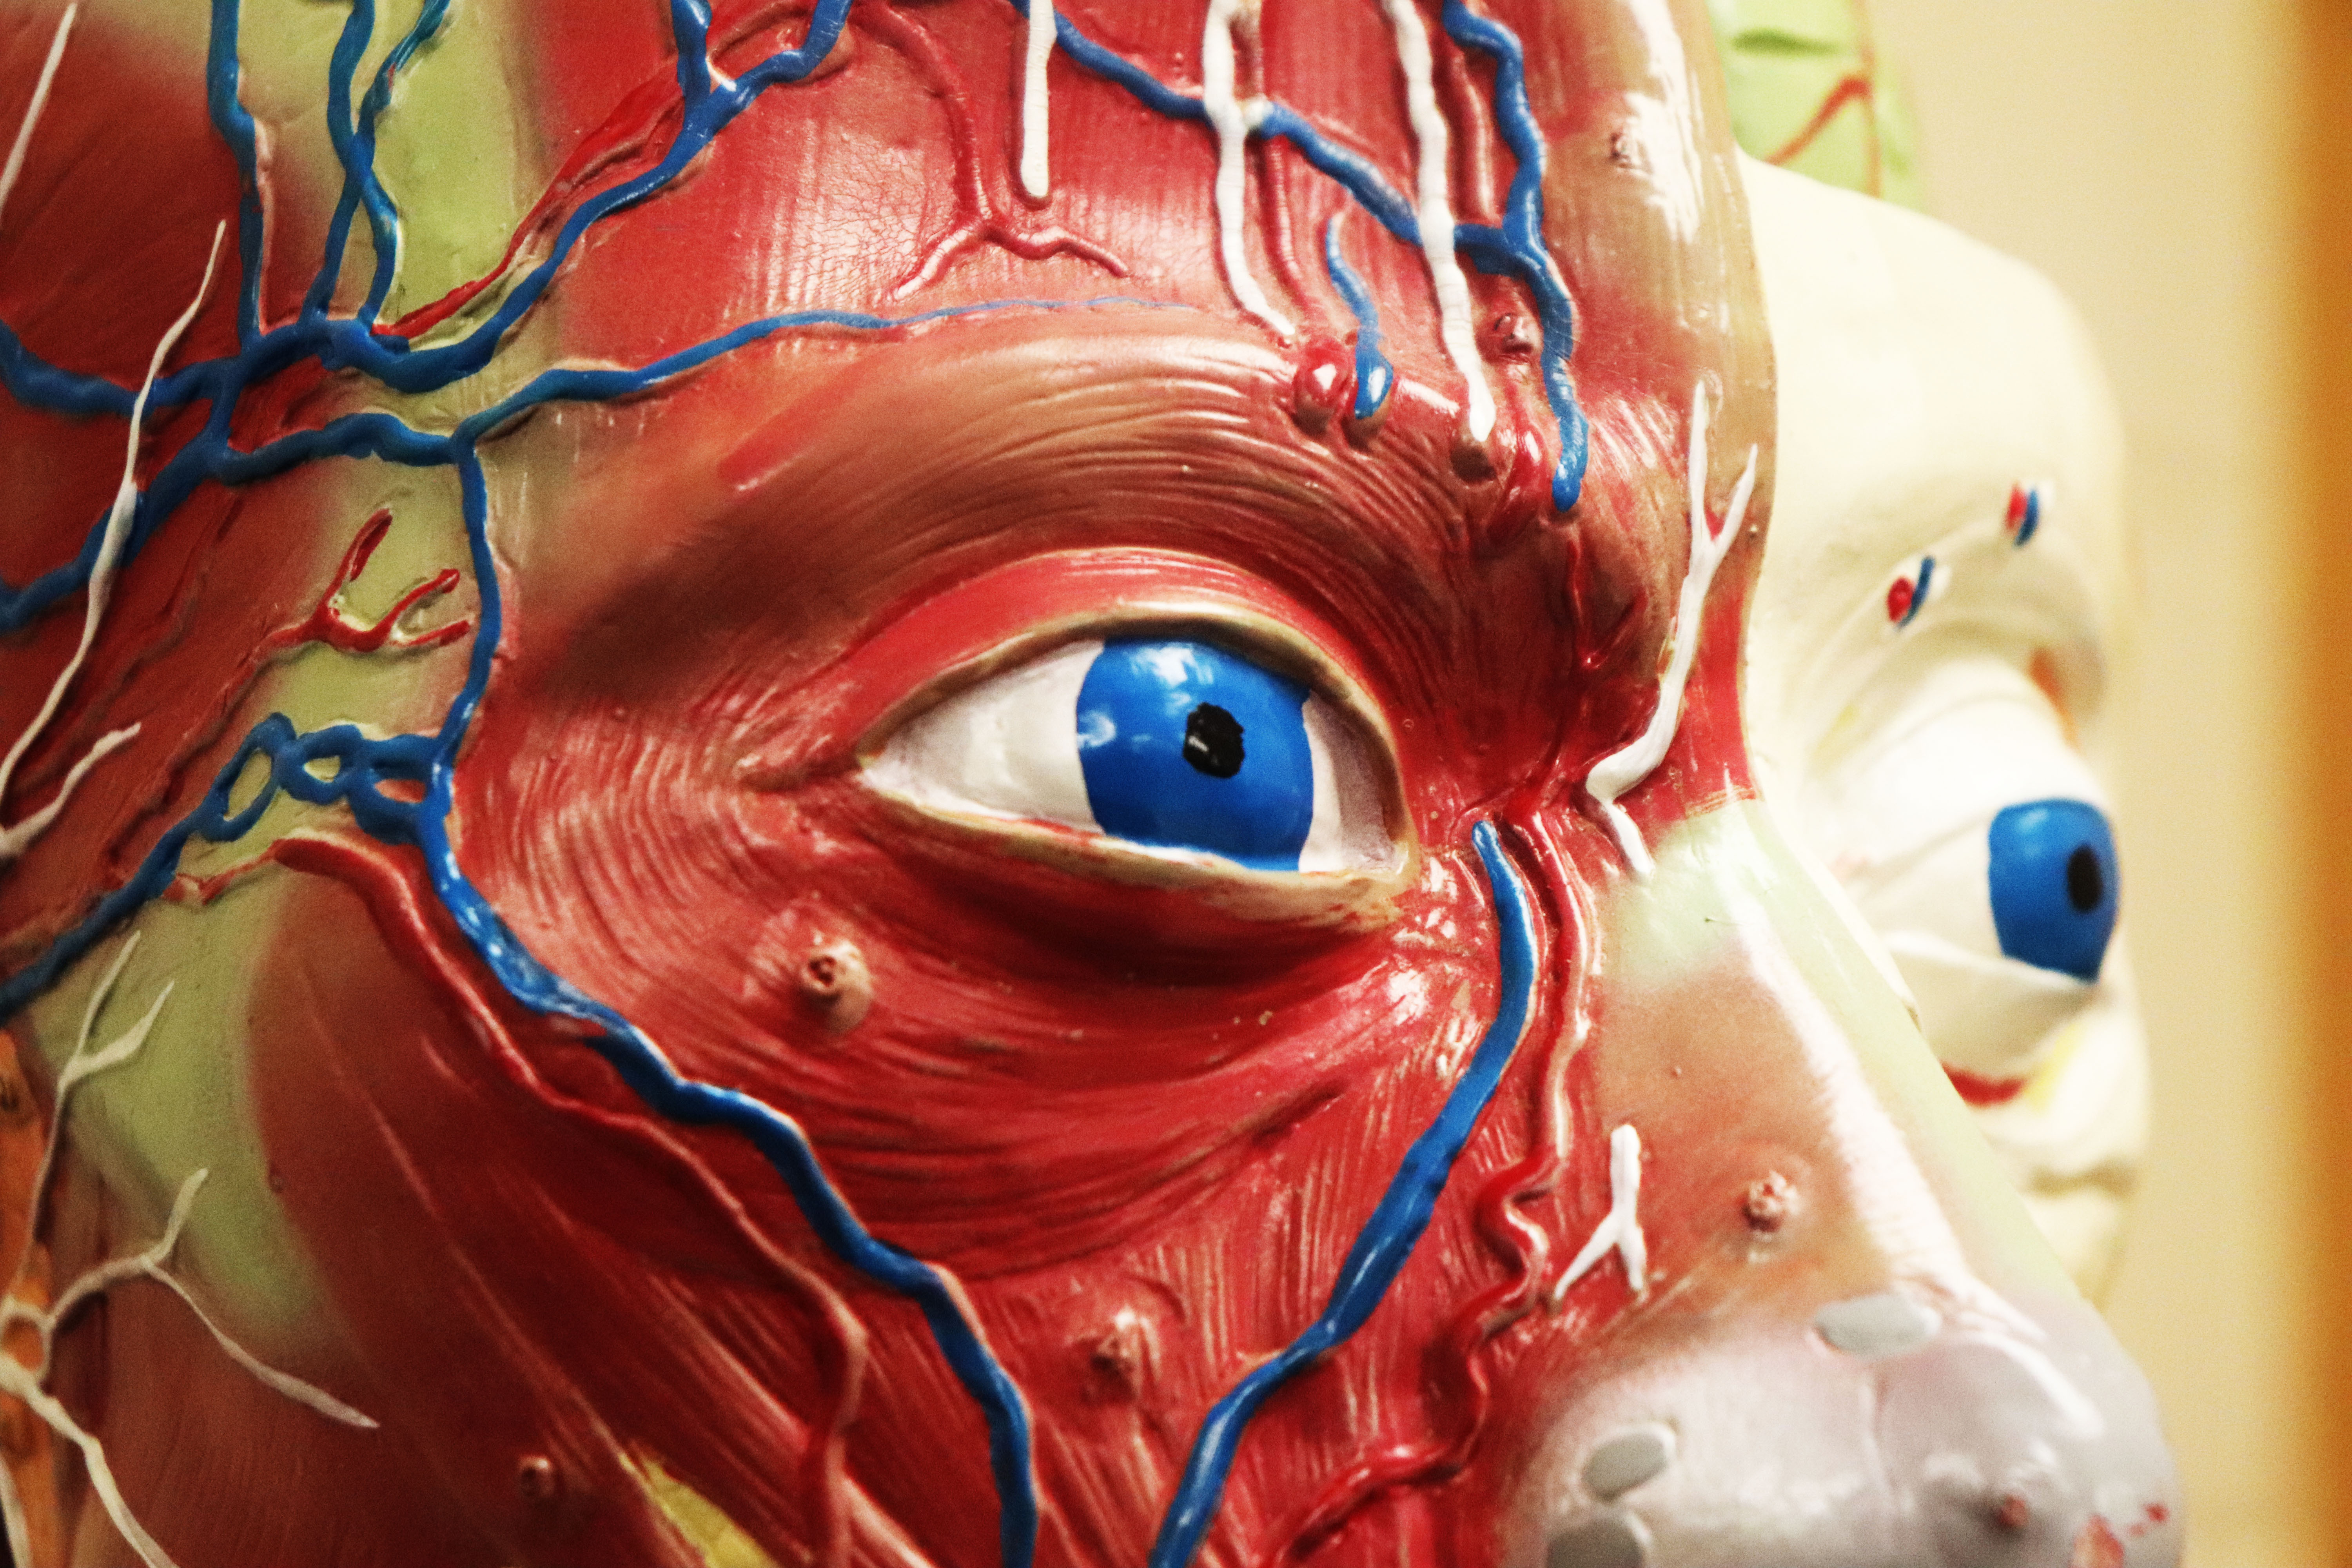 |
This secondary photo also represents fill the frame. The statue was in Mr. Risberg's Classroom, and I found this angle. This photograph uses brightness and contrast. The contrast was increased slightly to increase the visibility of all the creases and details in the statue. I wanted to enhance a creepiness so I used these to make it look brighter. |
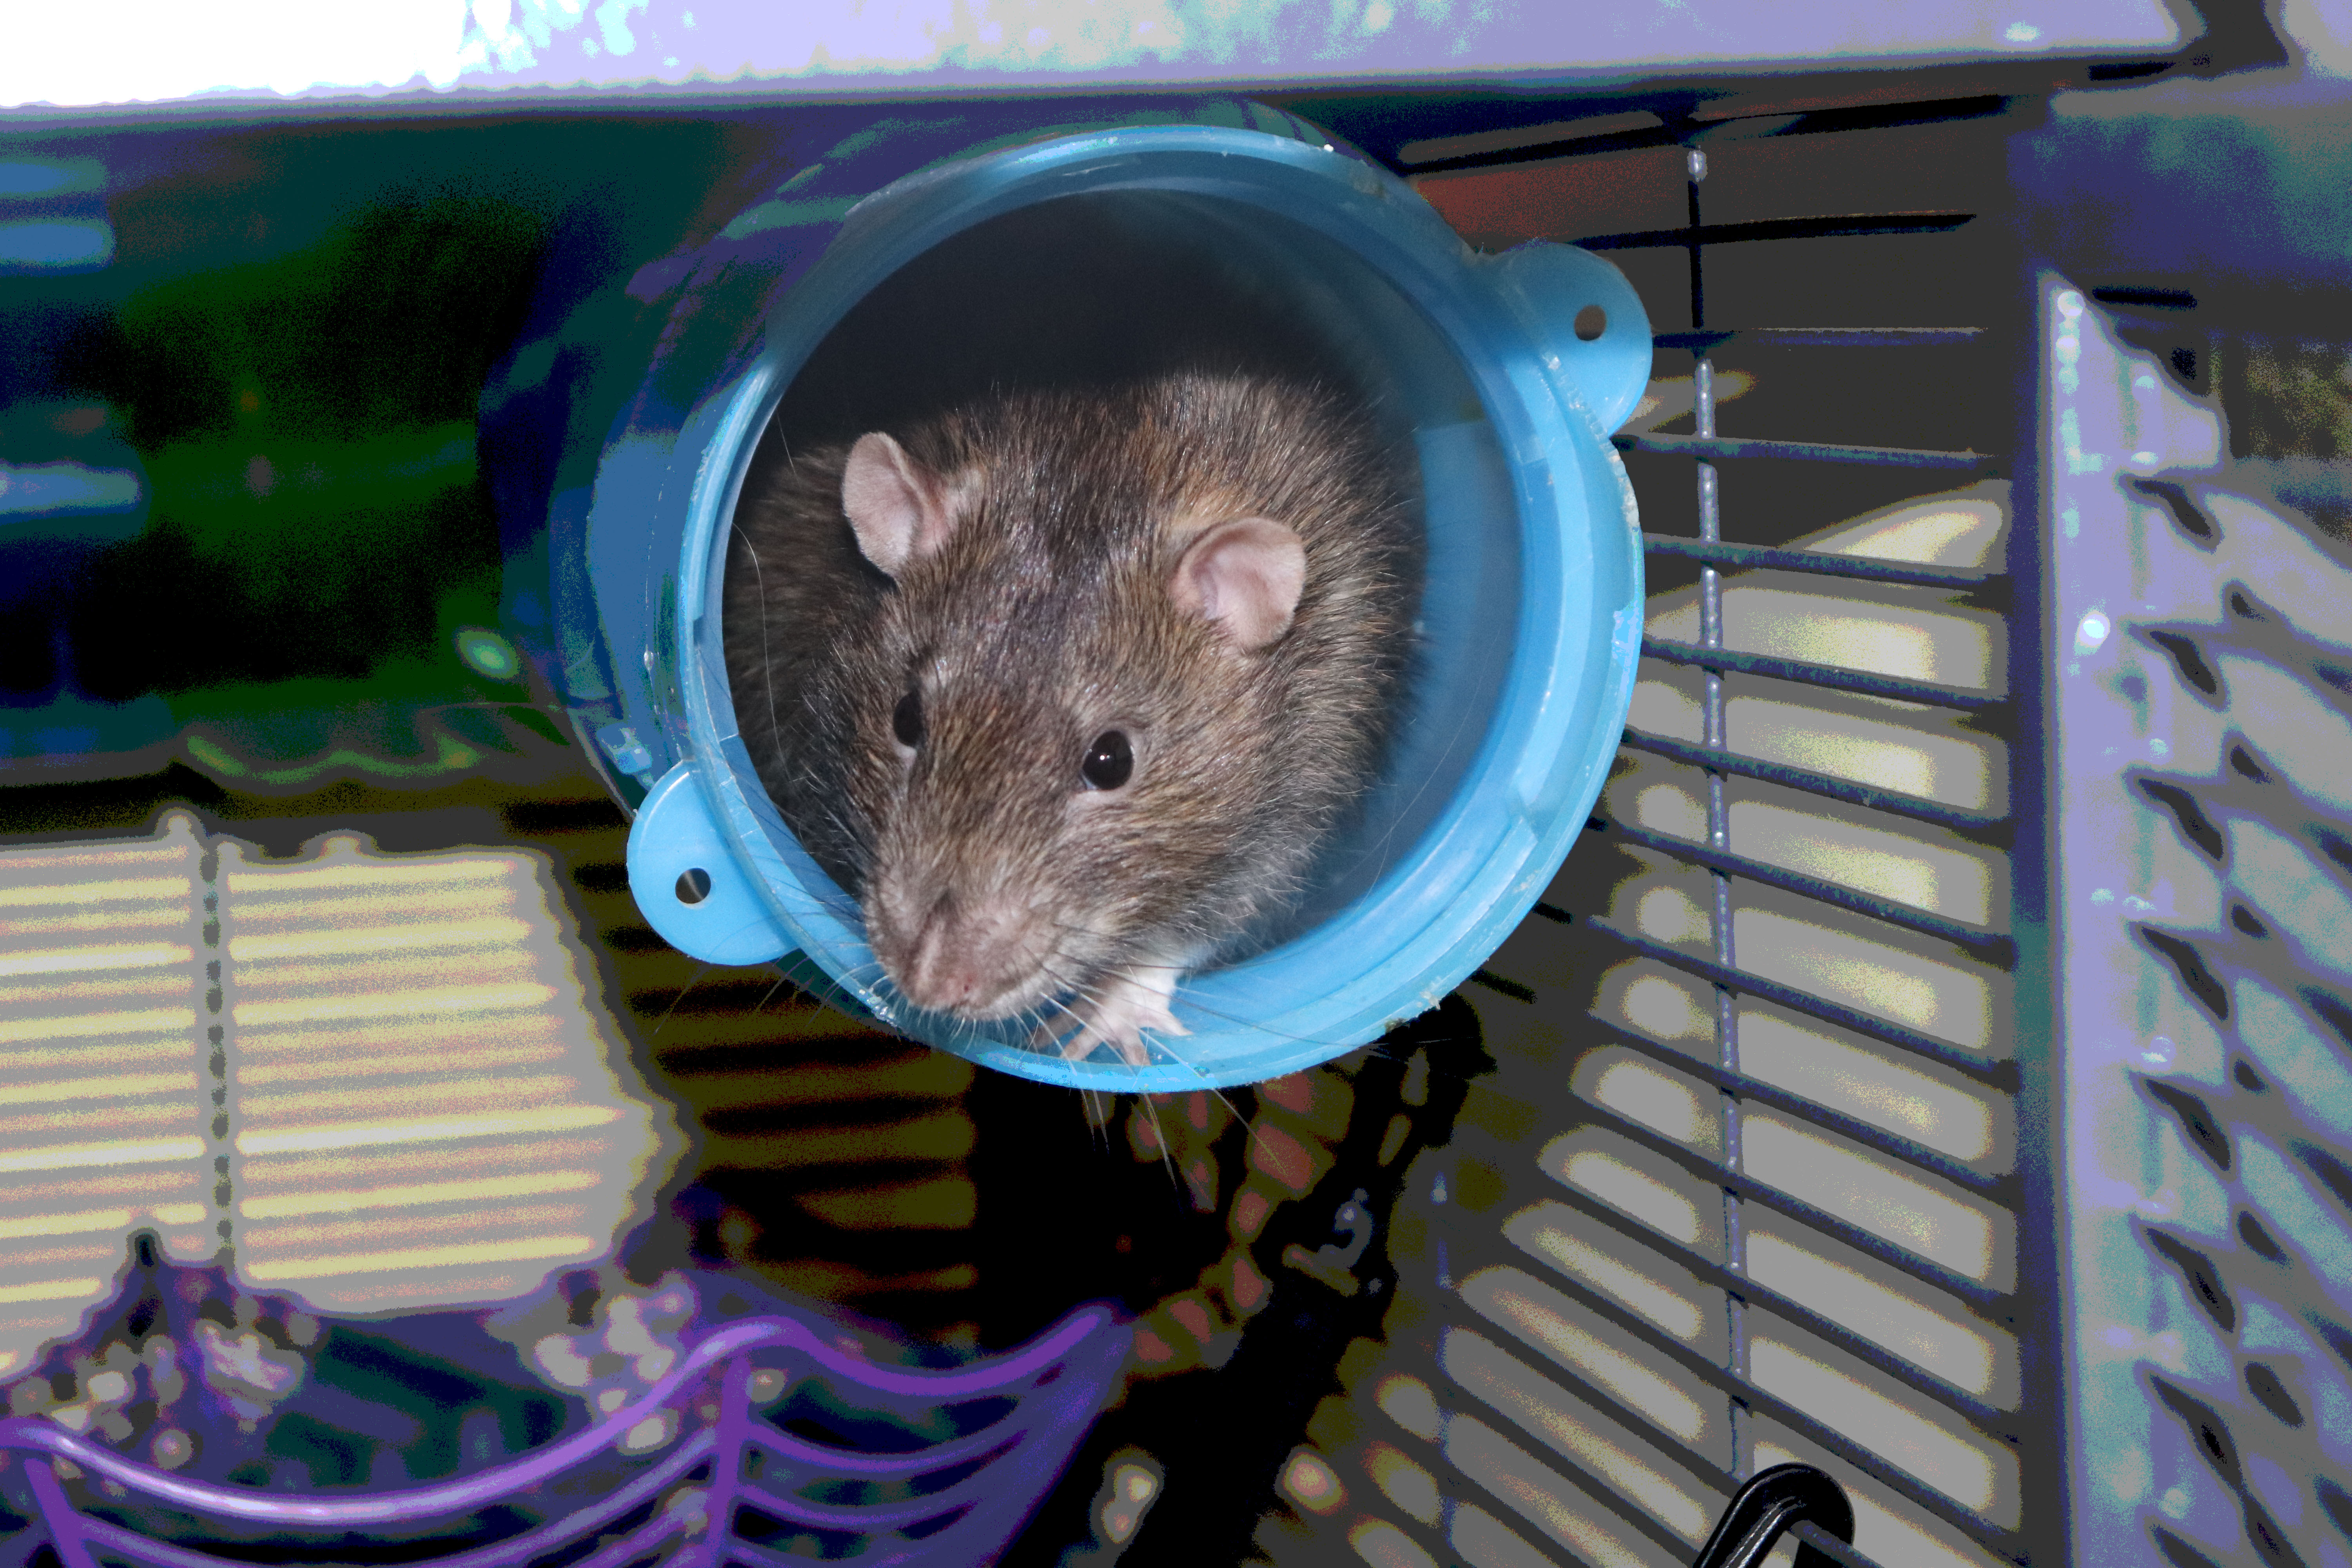 |
This photograph represents framing because you are looking into the entrance of the tube, and the tube contains the subject, which happens to be a rat. This is the rat's cage, and all 4 rats live in this cage. I've taken several photos with the rats sticking out, and each time, the rat's were moving around, until now. I didn't use any bait or treats to make them come out, I just tried taking a photograph until it looked nice and clear. The rat looks realistic, while the background looks somewhat hand-drawn. |
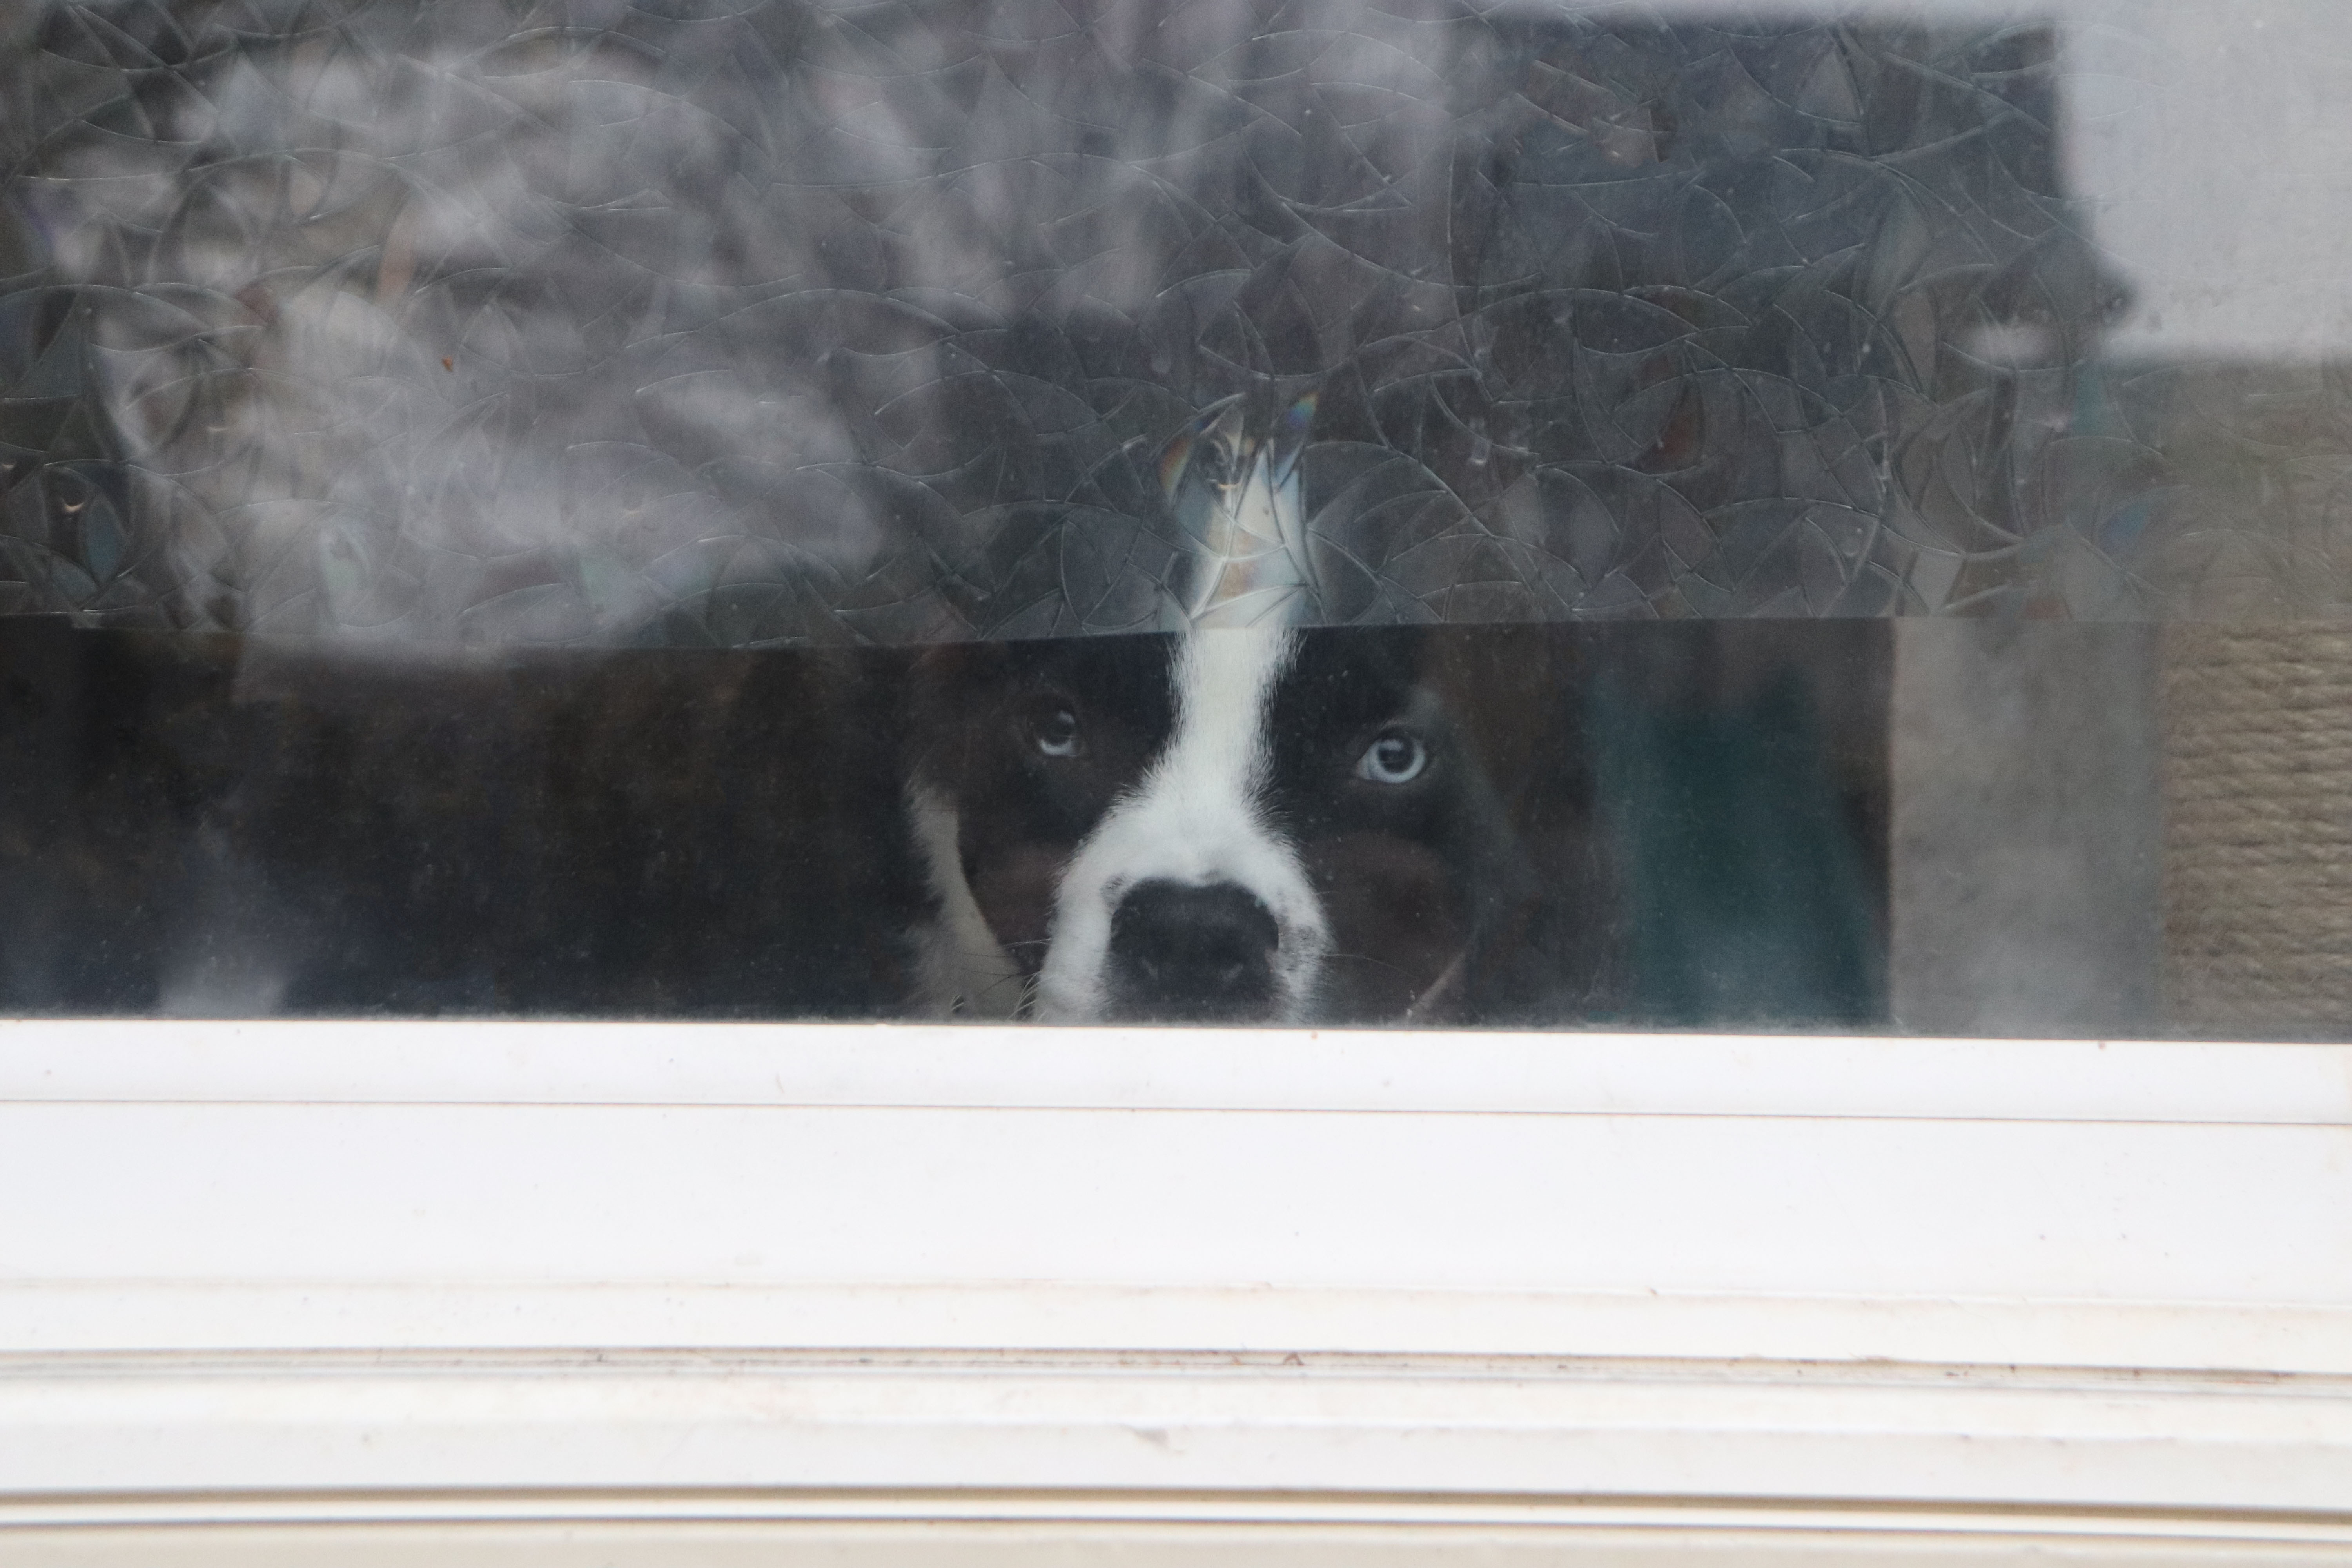 |
This photograph represents framing, because you are looking through the glass, and see the dog. This photograph used spot healing brush to remove the smudges and specks of dirt on the glass, because the glass was disgusting and looked horrible. This was my second shot at taking this photograph, because at the time I was outside with my camera looking around at things that I would possibly want to take a photograph of. Since I was the only one home, he was paying attention to me, so he looked out the glass at me. This photograph was taken at my house. |
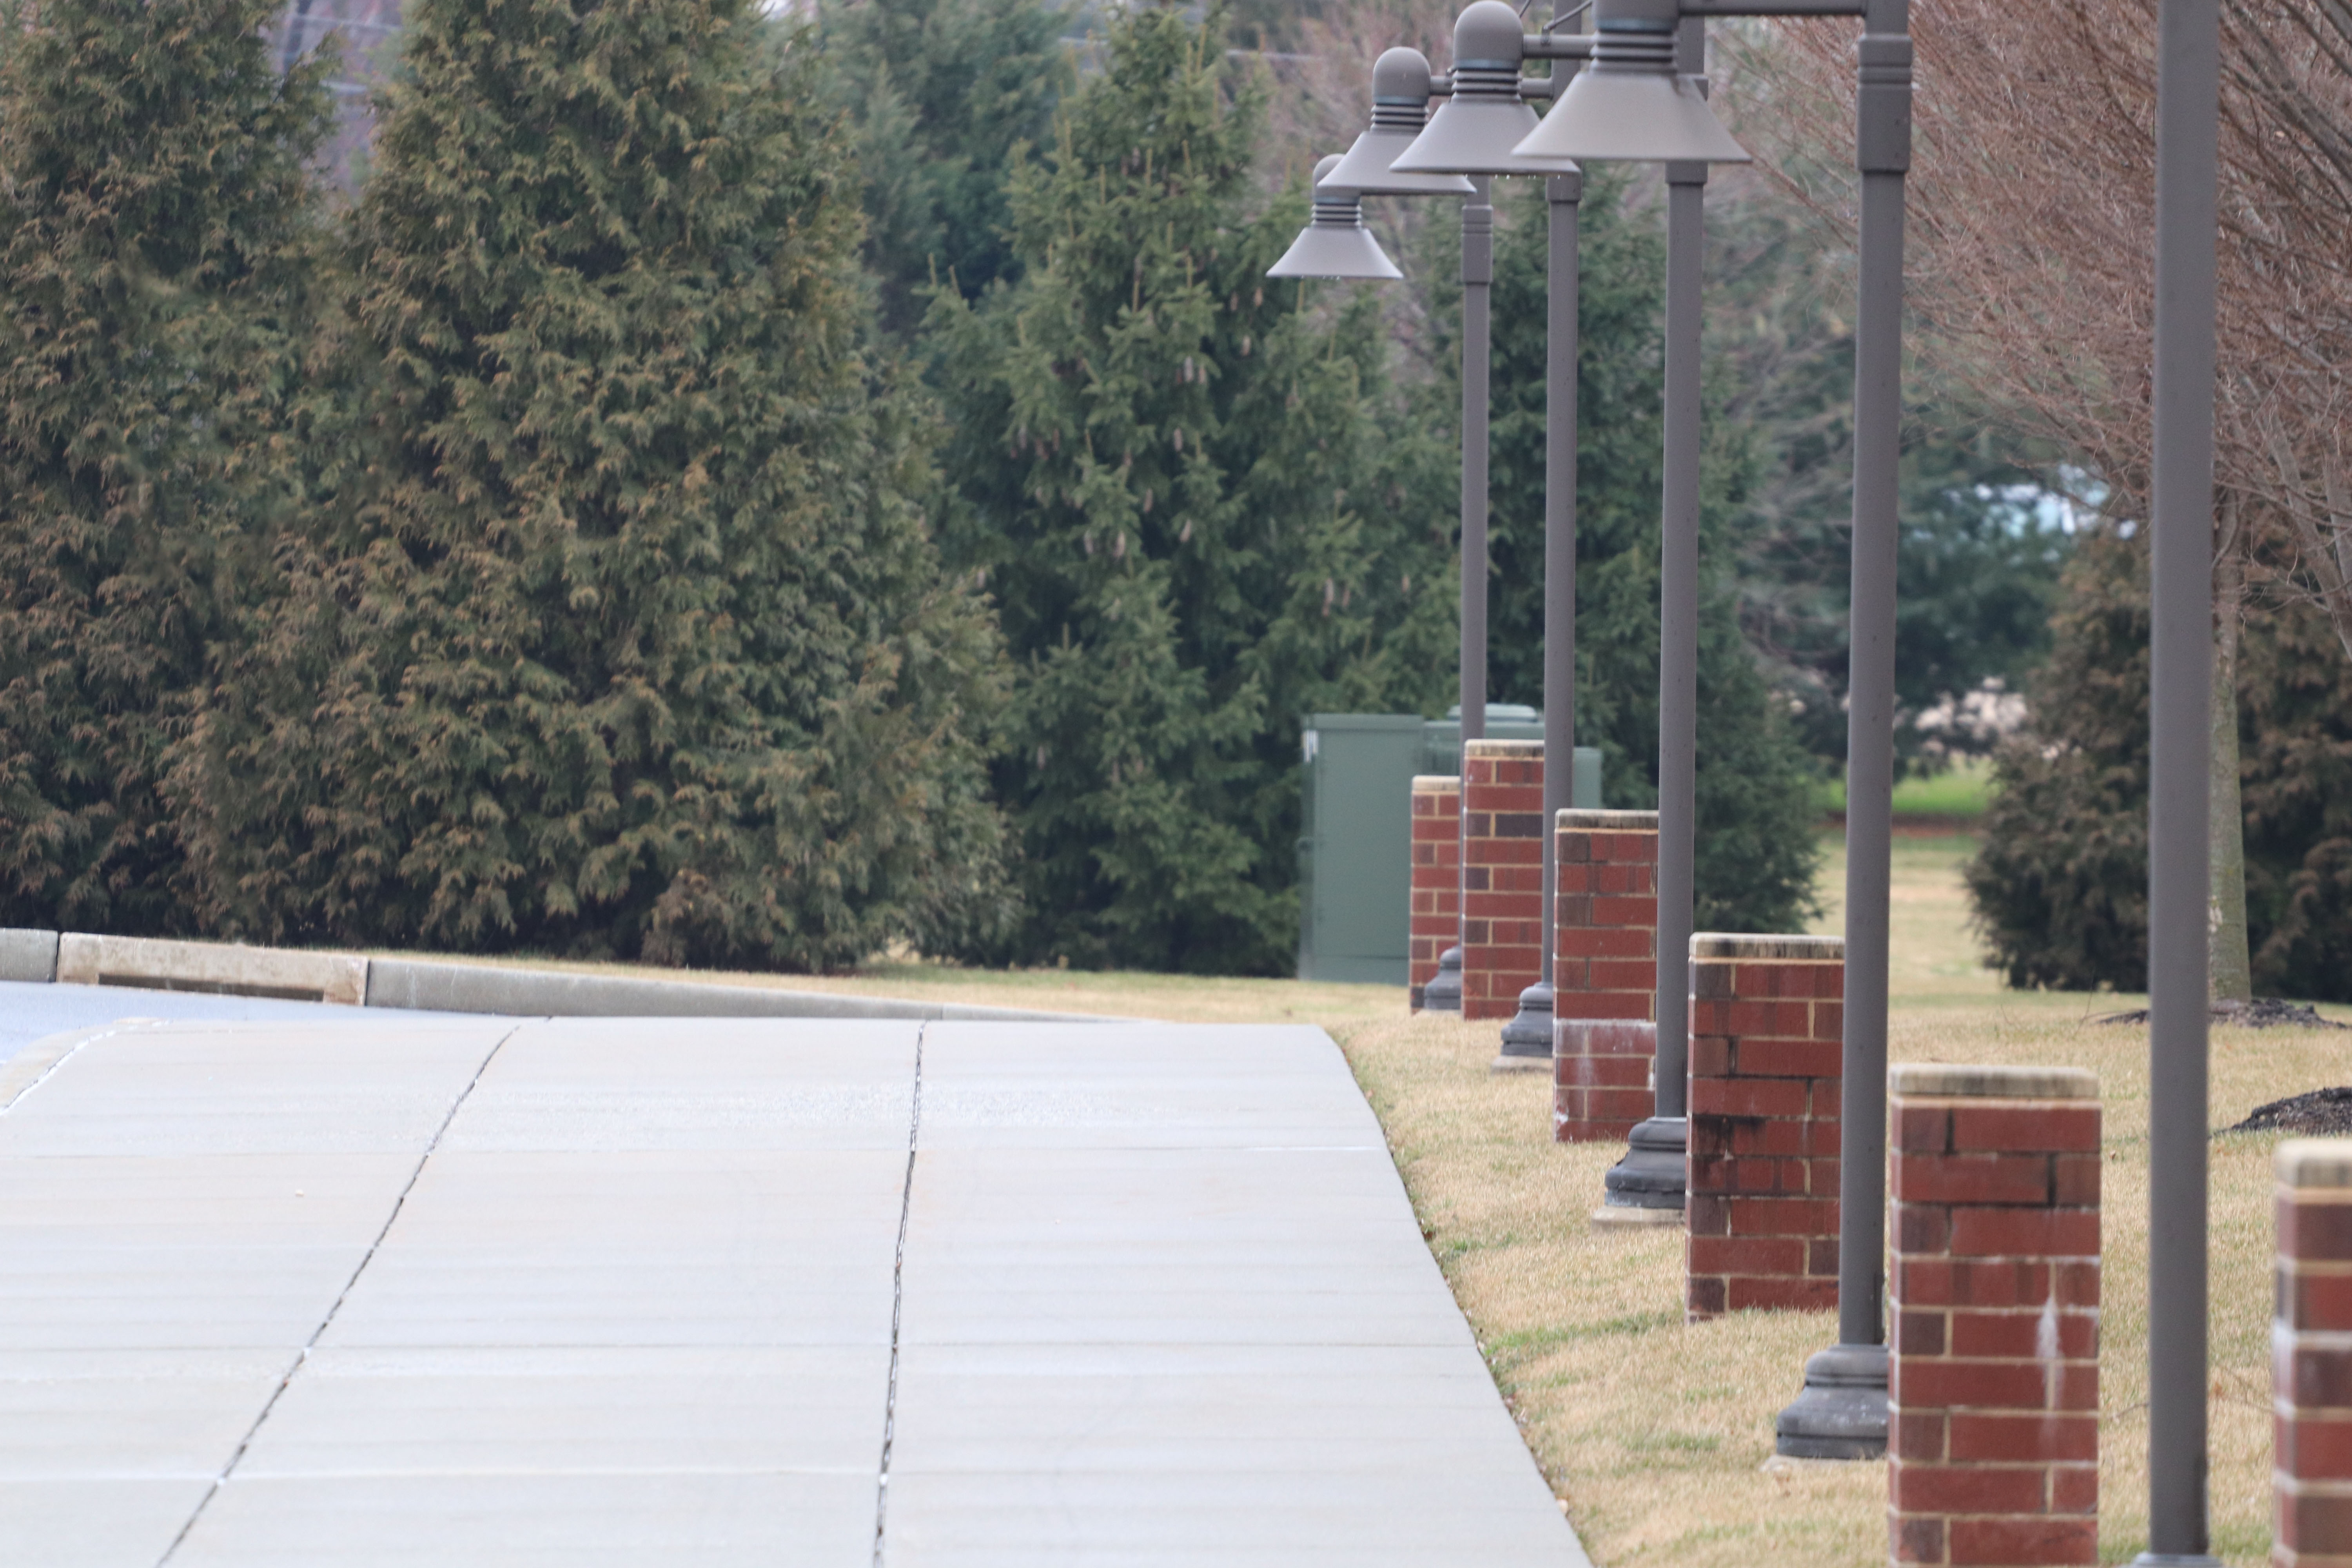 |
This photograph represents leading lines because of the lines on the sidewalk and the lamps and their posts, along with the brick posts also help to drag your eye into the photograph, to make you look at the trees. This was taken outside at Donegal High School. I made one edit, which was removing the stop sign on the left side. This photograph was the third attempt to make a successful leading lines photograph. |
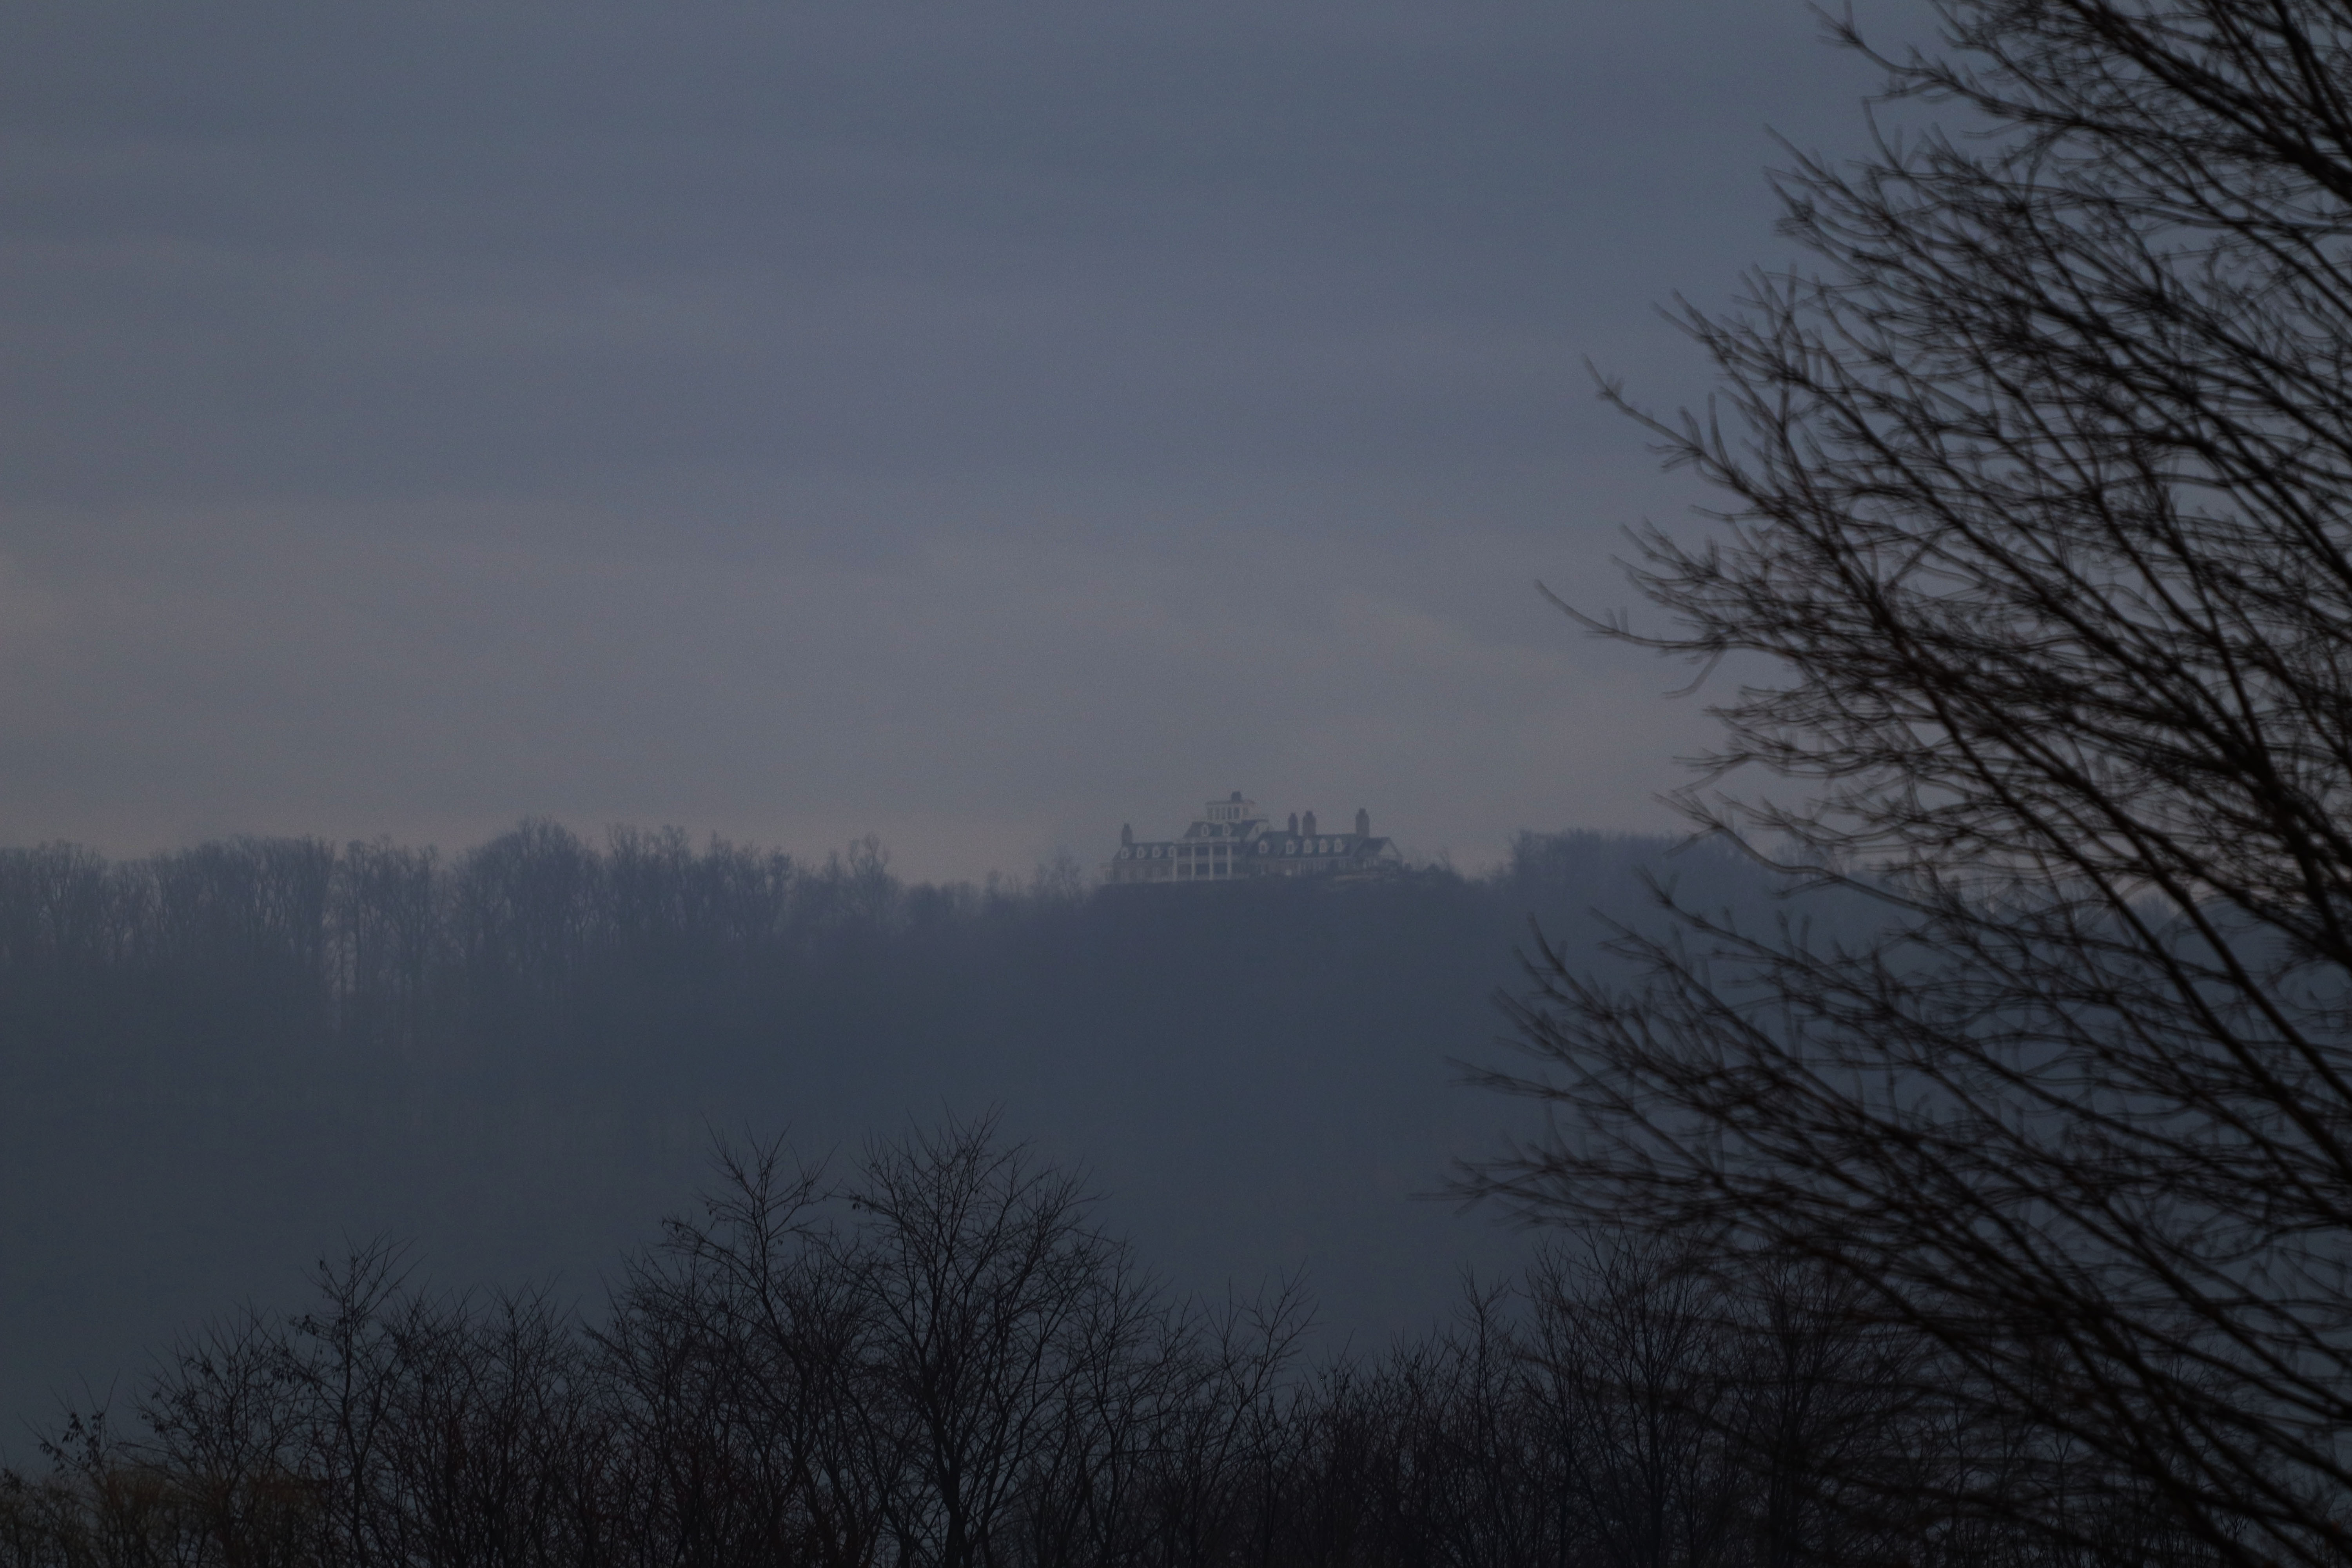 |
This photograph represents Point of View, because you are underneath the building and looking above towards the building. This photograph was edited with the brightness and contrast, increasing the contrast and decreasing the brightness. This was the fifth attempt of taking the photograph. I went down the street of my house, and this photograph was taken with the telescopic lens. |
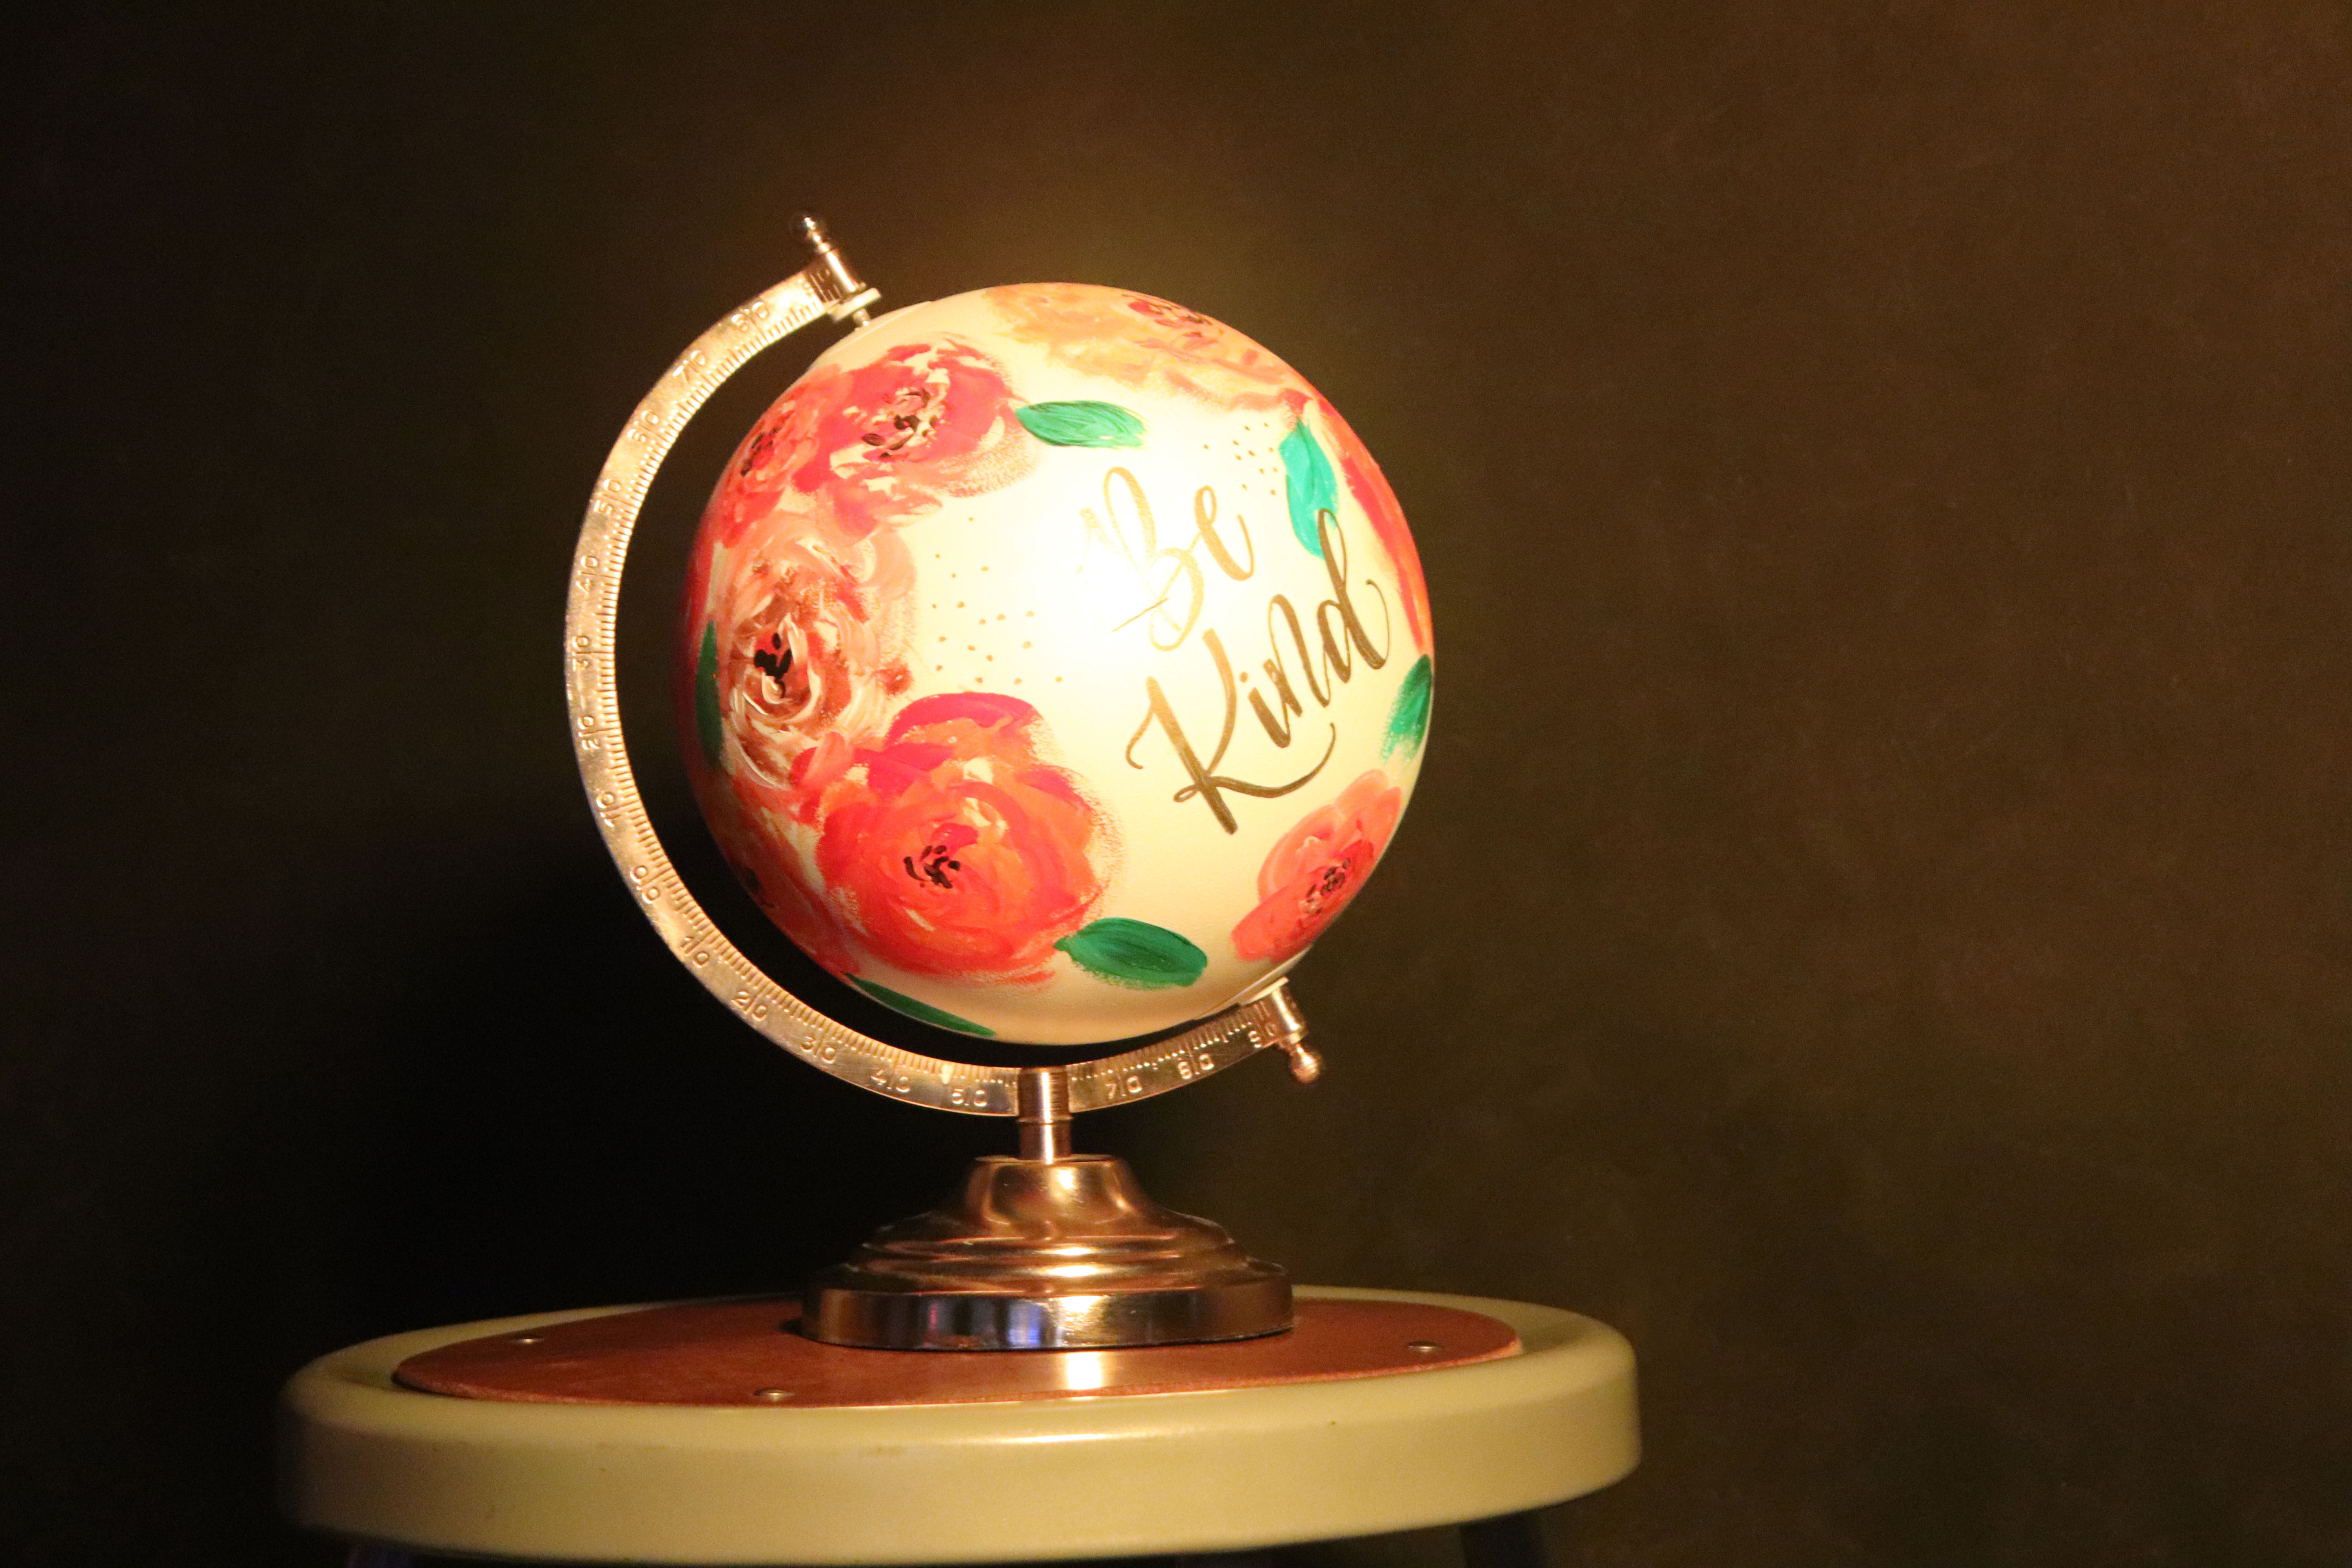 |
This photograph represents Rule of Thirds because the globe intersects with the first vertical line. This photograph uses levels. This photograph was the fifth attempt to get a good photograph. |
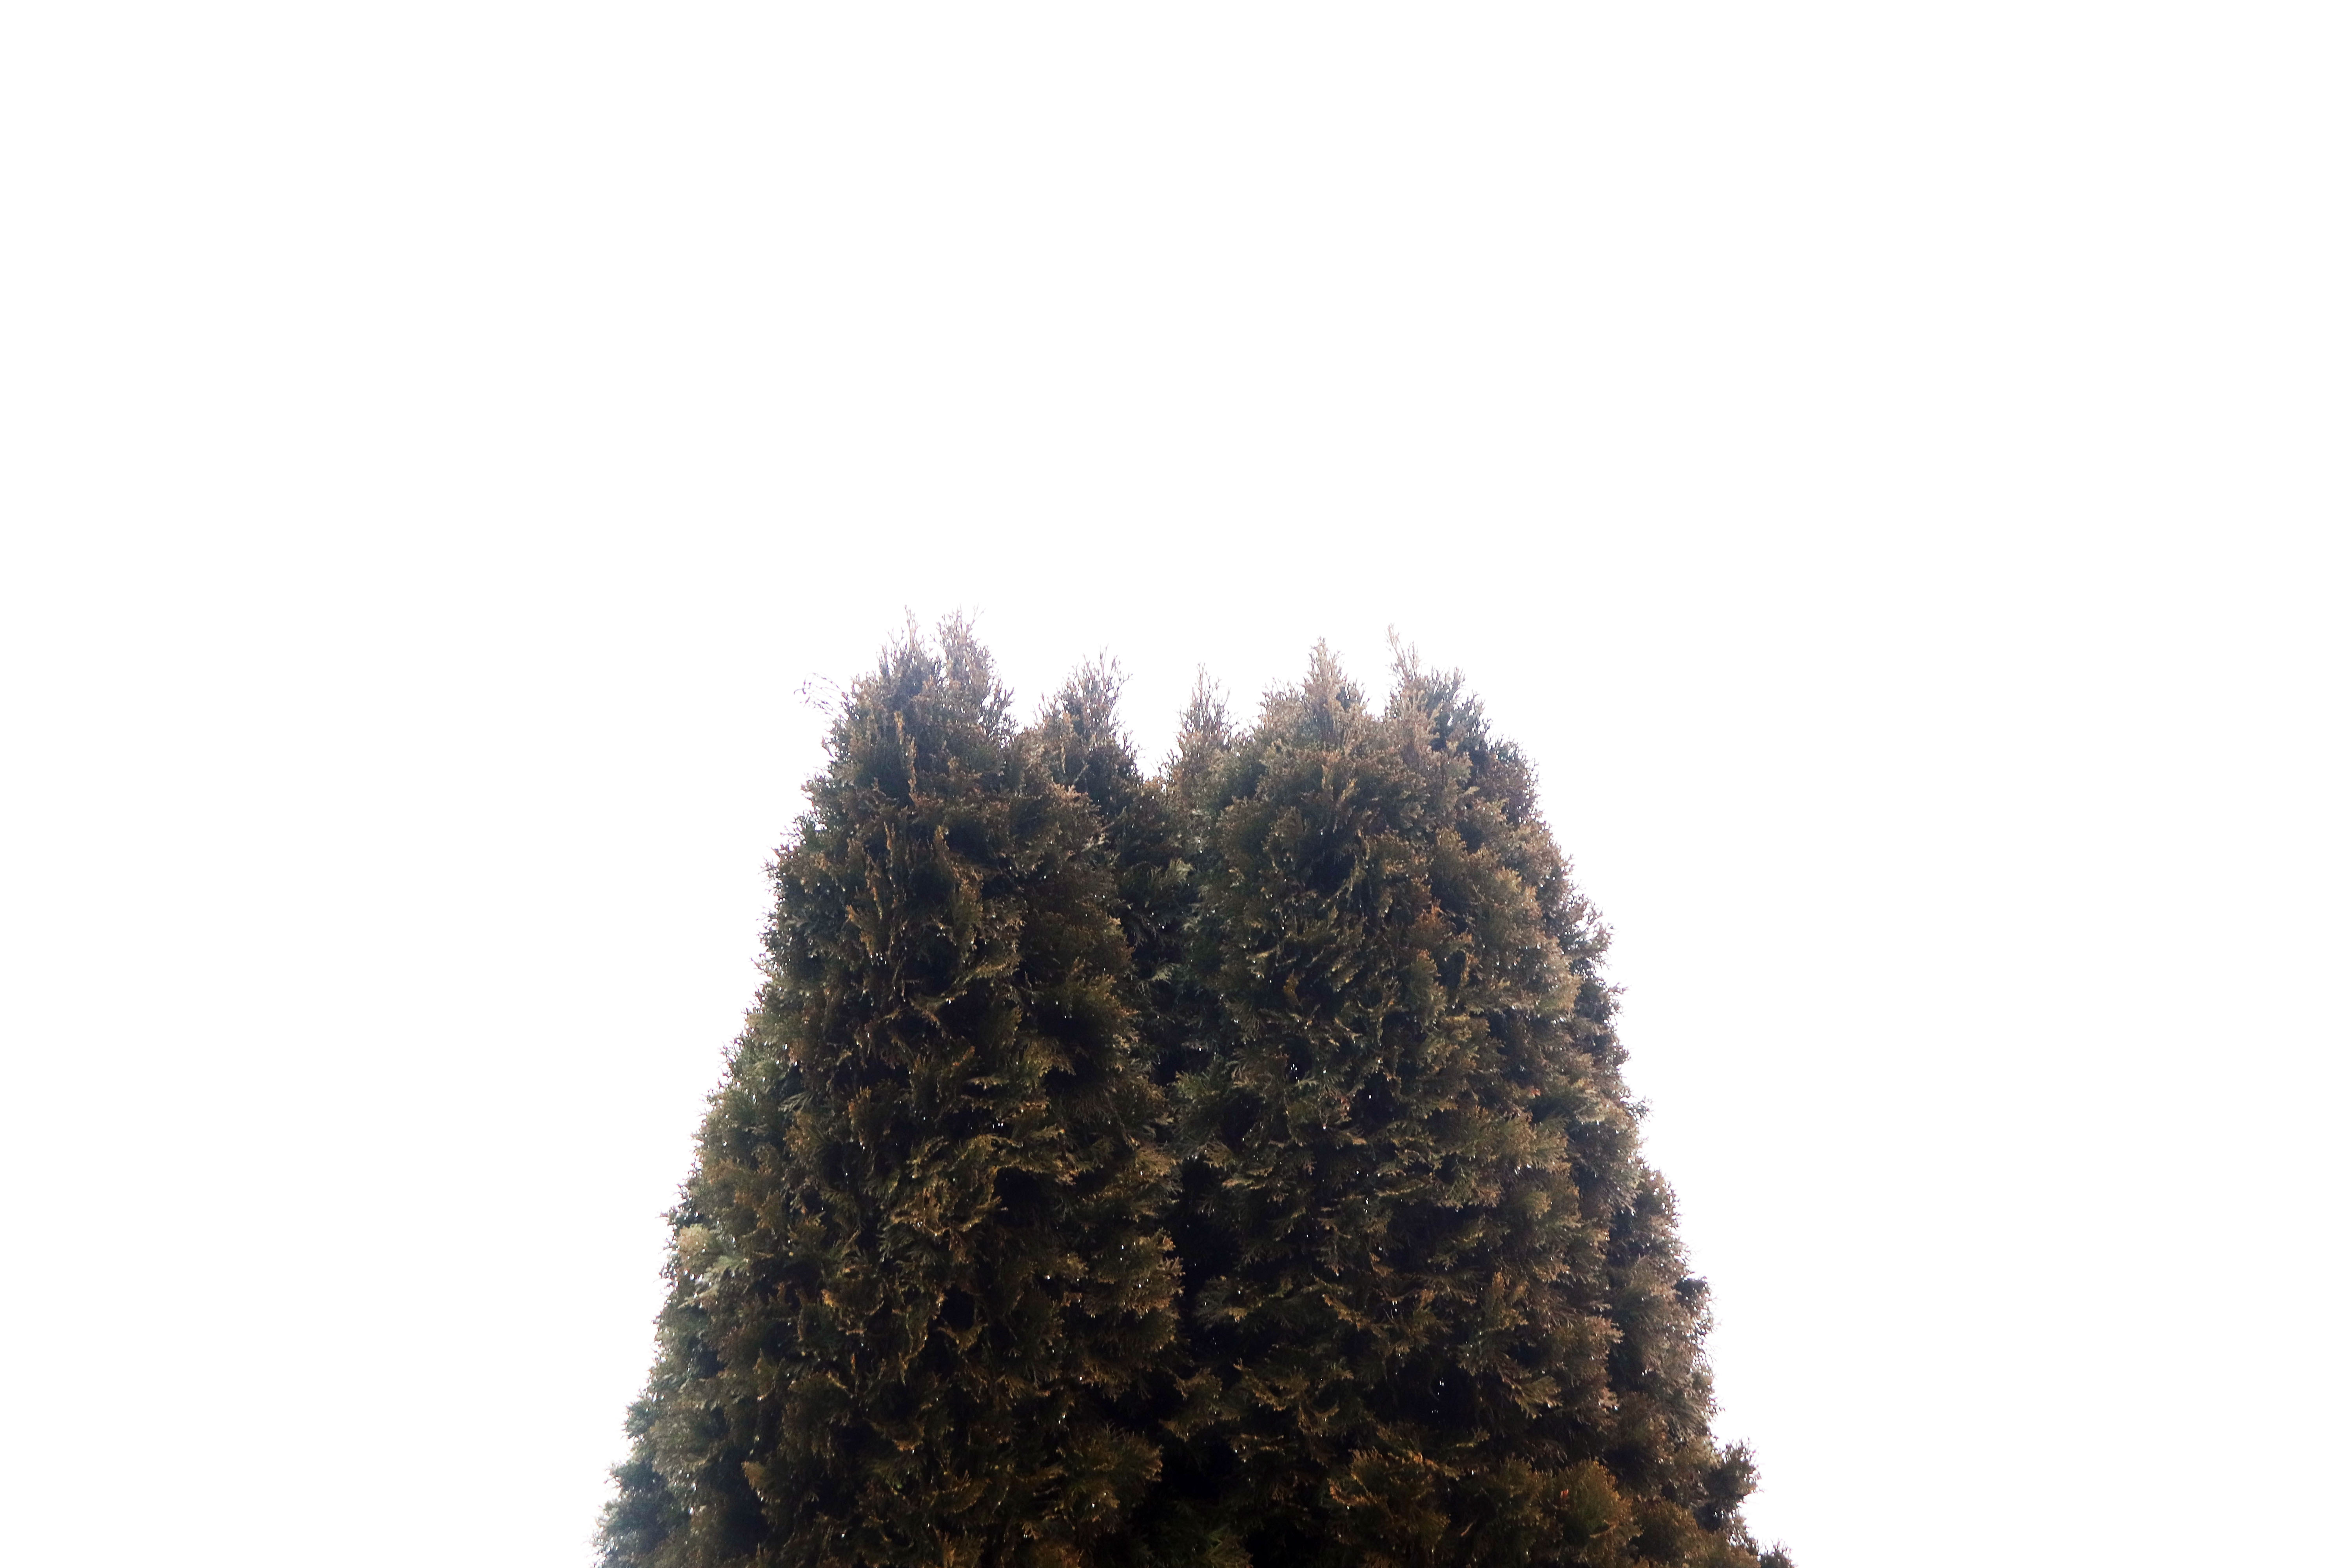 |
The final photograph is of a tree in my neighbor's back yard. The photograph uses levels as its edit. This was the first shot, and I enjoyed it more then the other shots. This represents symmetry, because the top of the tree is almost identical to the other top half of the tree. |
| Shutter Speed Project | |
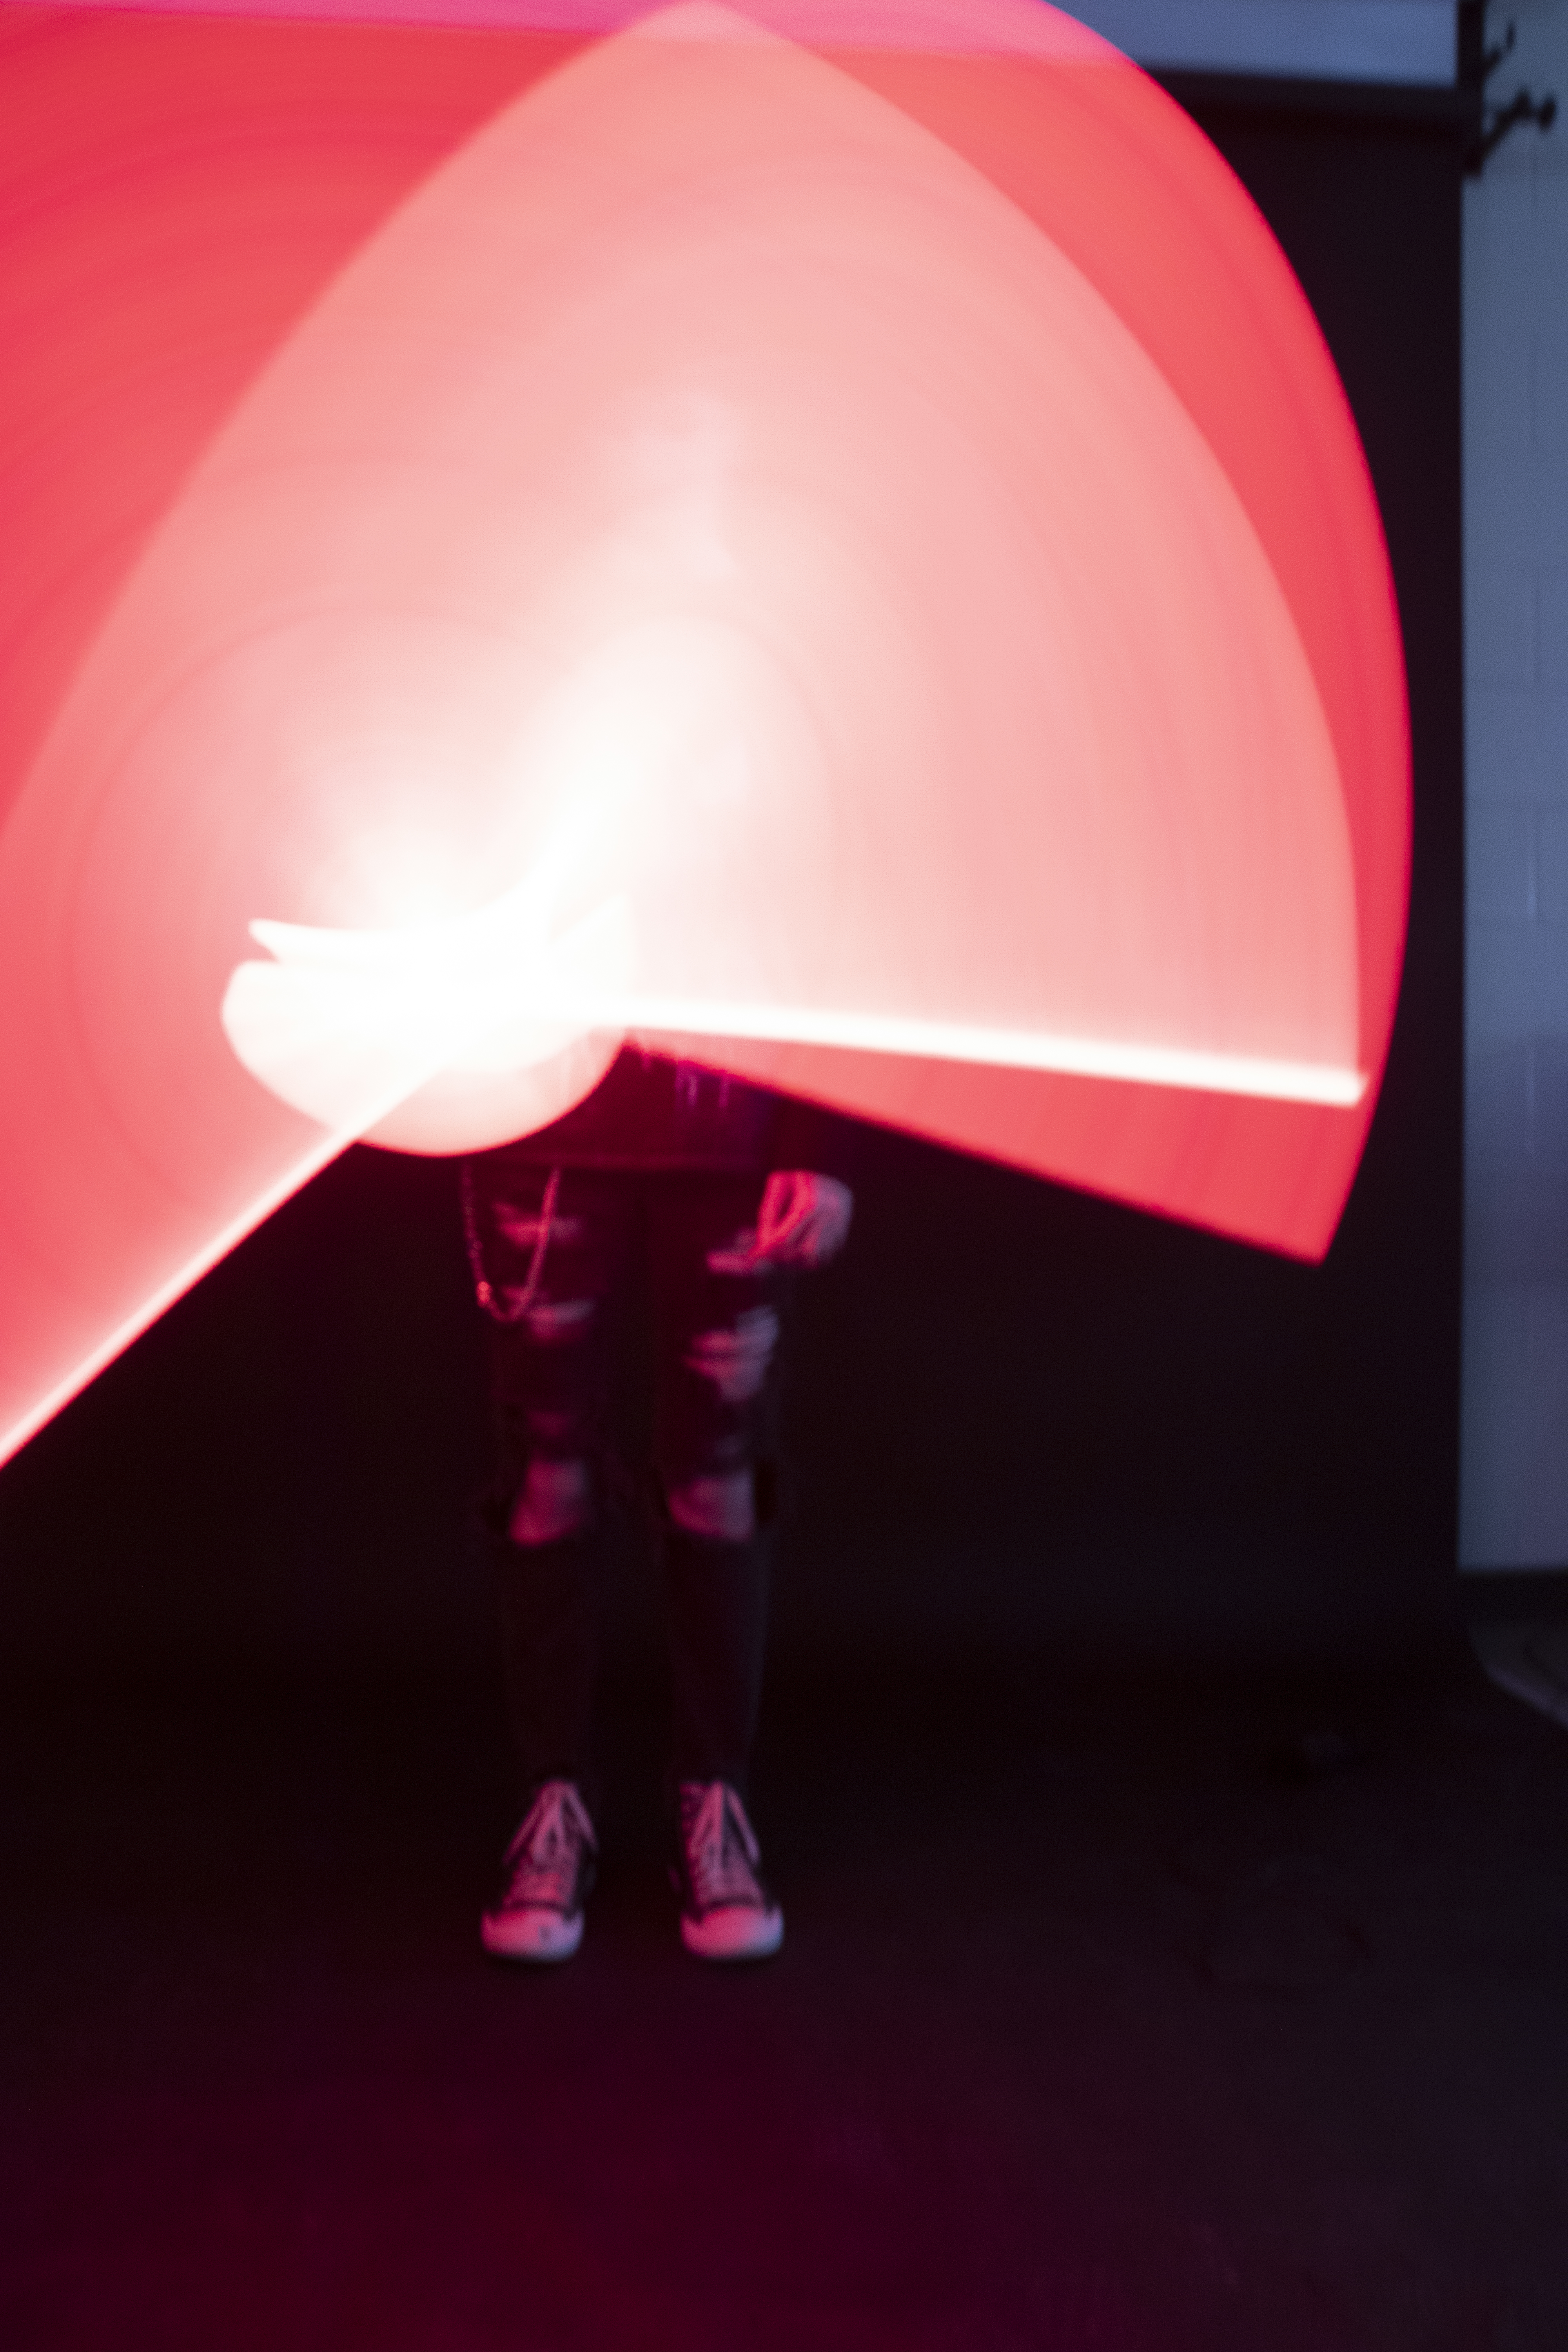 |
This photograph represents blured motion, and uses a 2 second shutter speed along with an 800 ISO. I chose the shutter speed to allow enough light to enter the sensor, and the ISO of 800 to make the photograph bright enough. This was taken in the photography room, at the backdrop wall. This was edited in photoshop by recoloring the photograph, which made the red turn into a lighter color. |
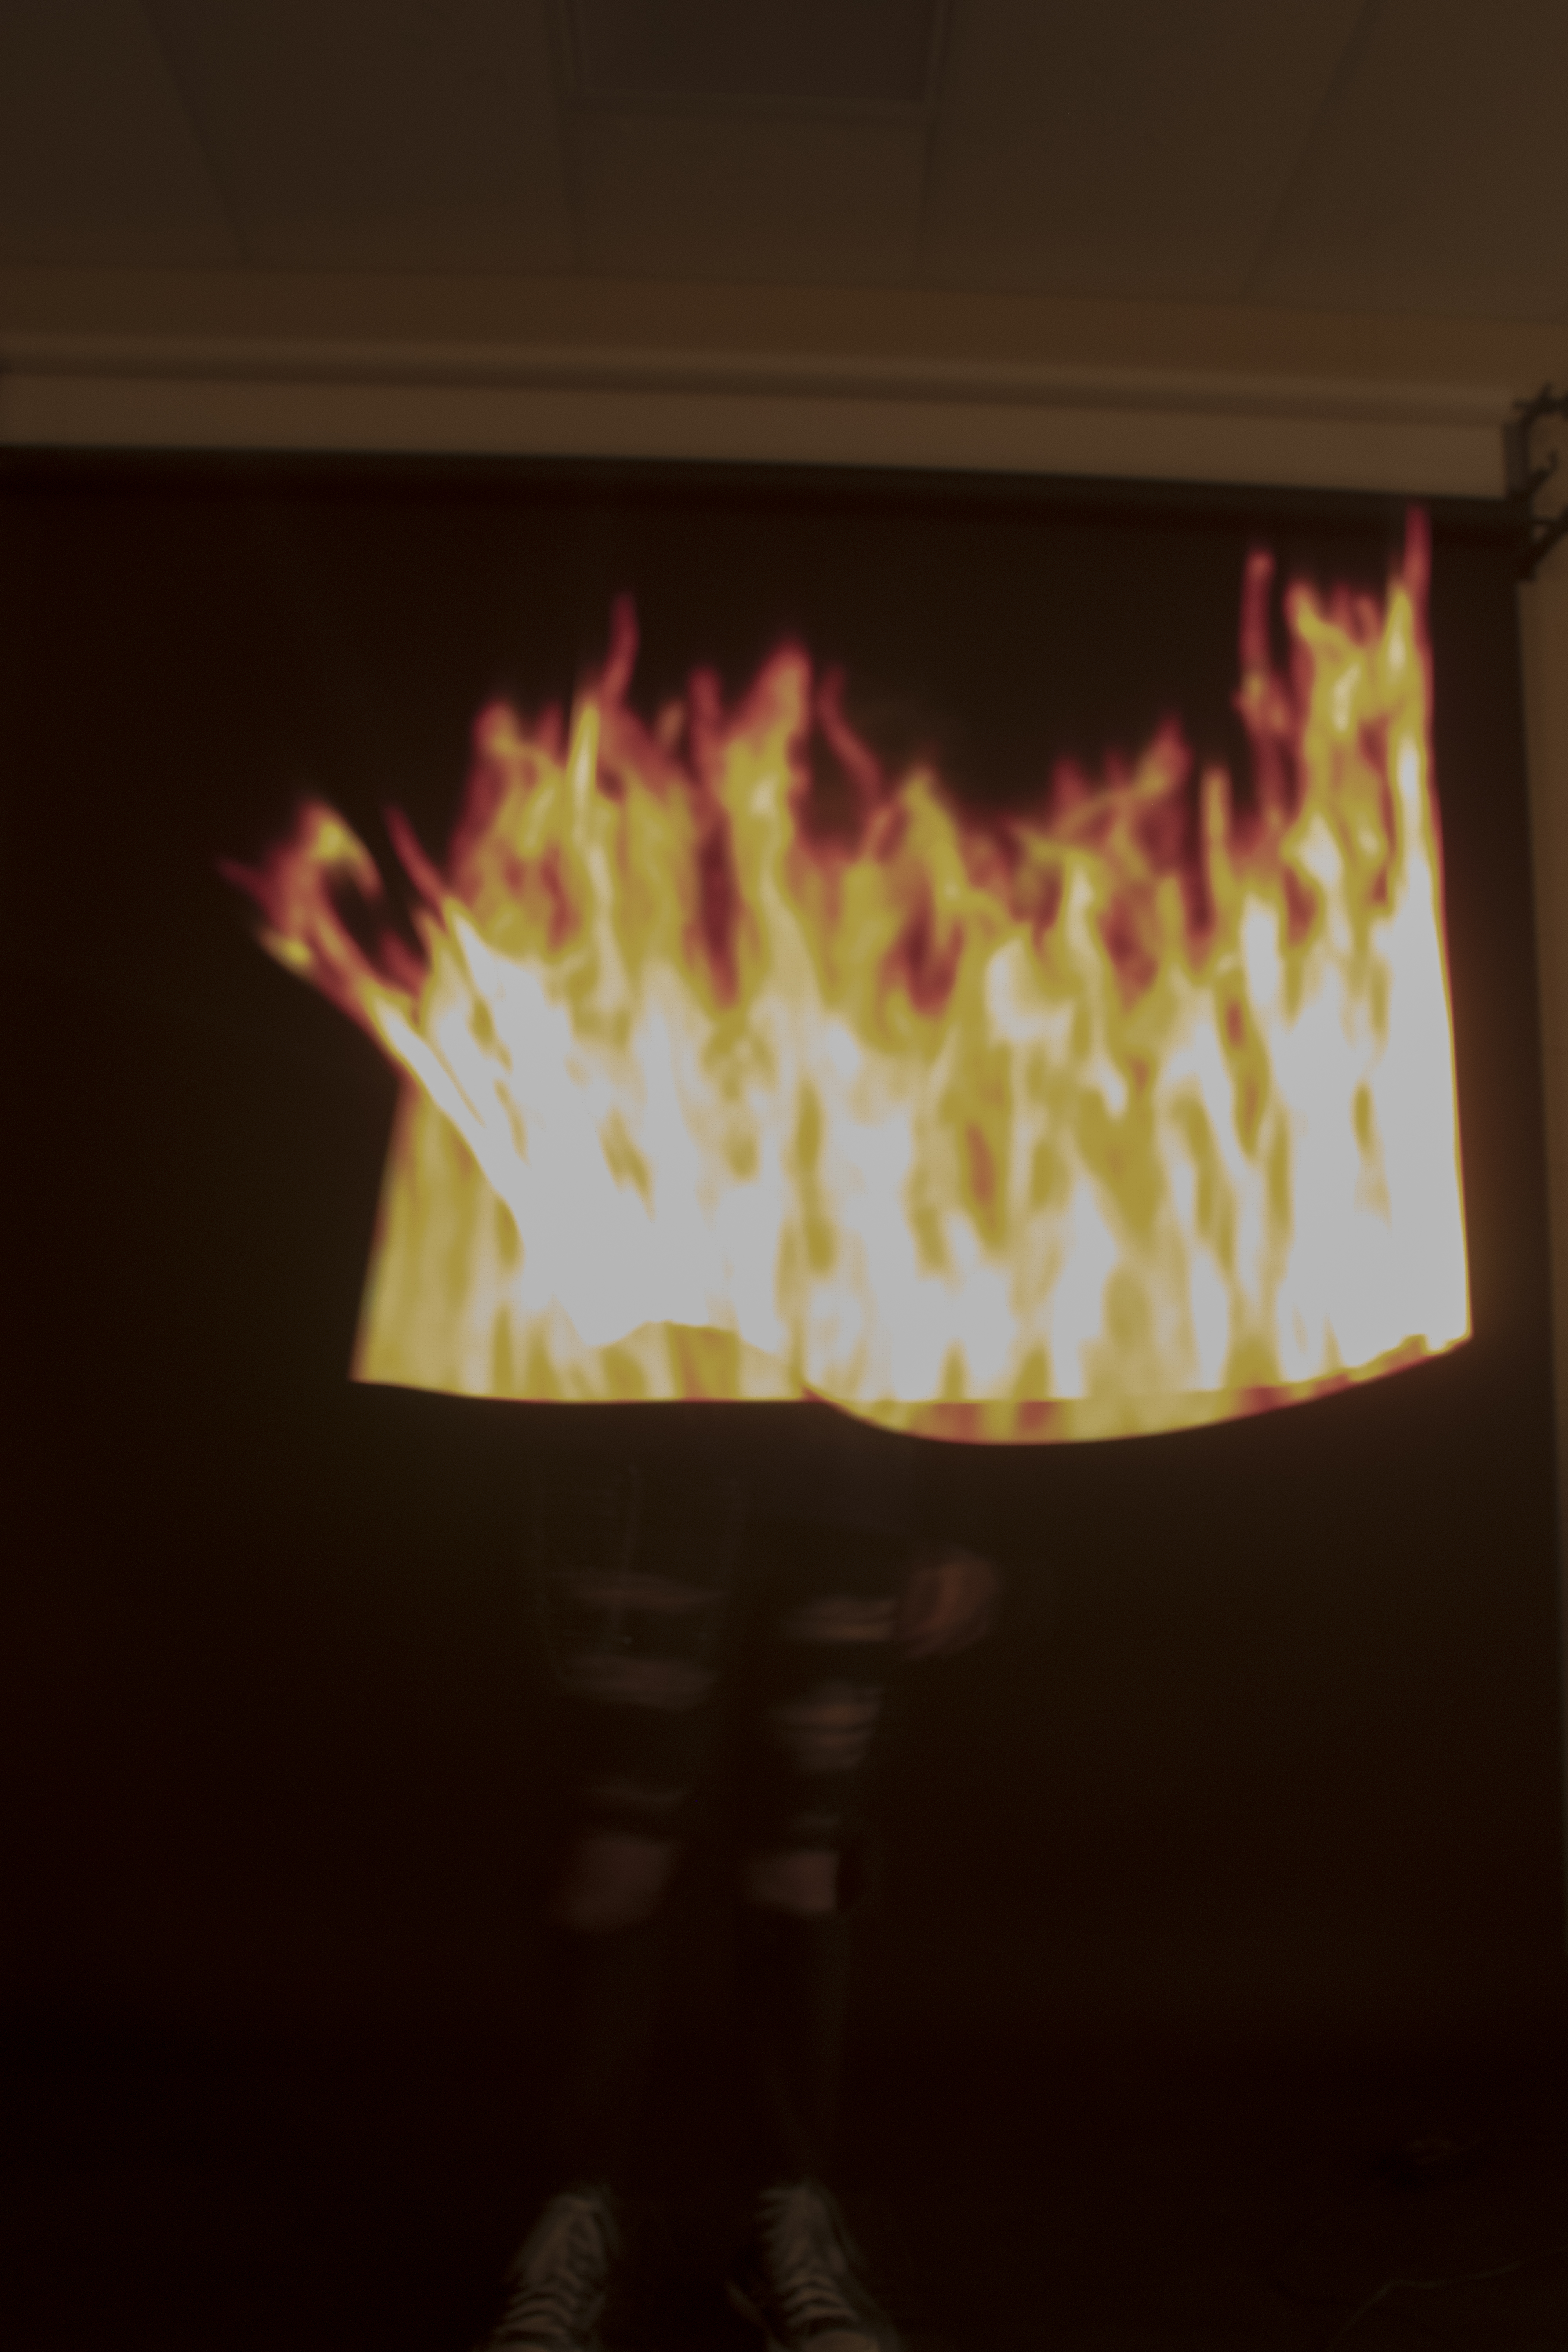 |
This photograph represents blured motion, and uses a 5 second shutter speed, along with an ISO value of 800. The shutter speed was chosen because the light stick animation lasted for 5 seconds, and I wanted to be able to see the full effect and animation. The ISO was chosen to allow for the photograph to be bright enough. This photograph was also taken in the photography room, at the backdrop wall. This was edited in photoshop by reducing the brightness of the photograph. |
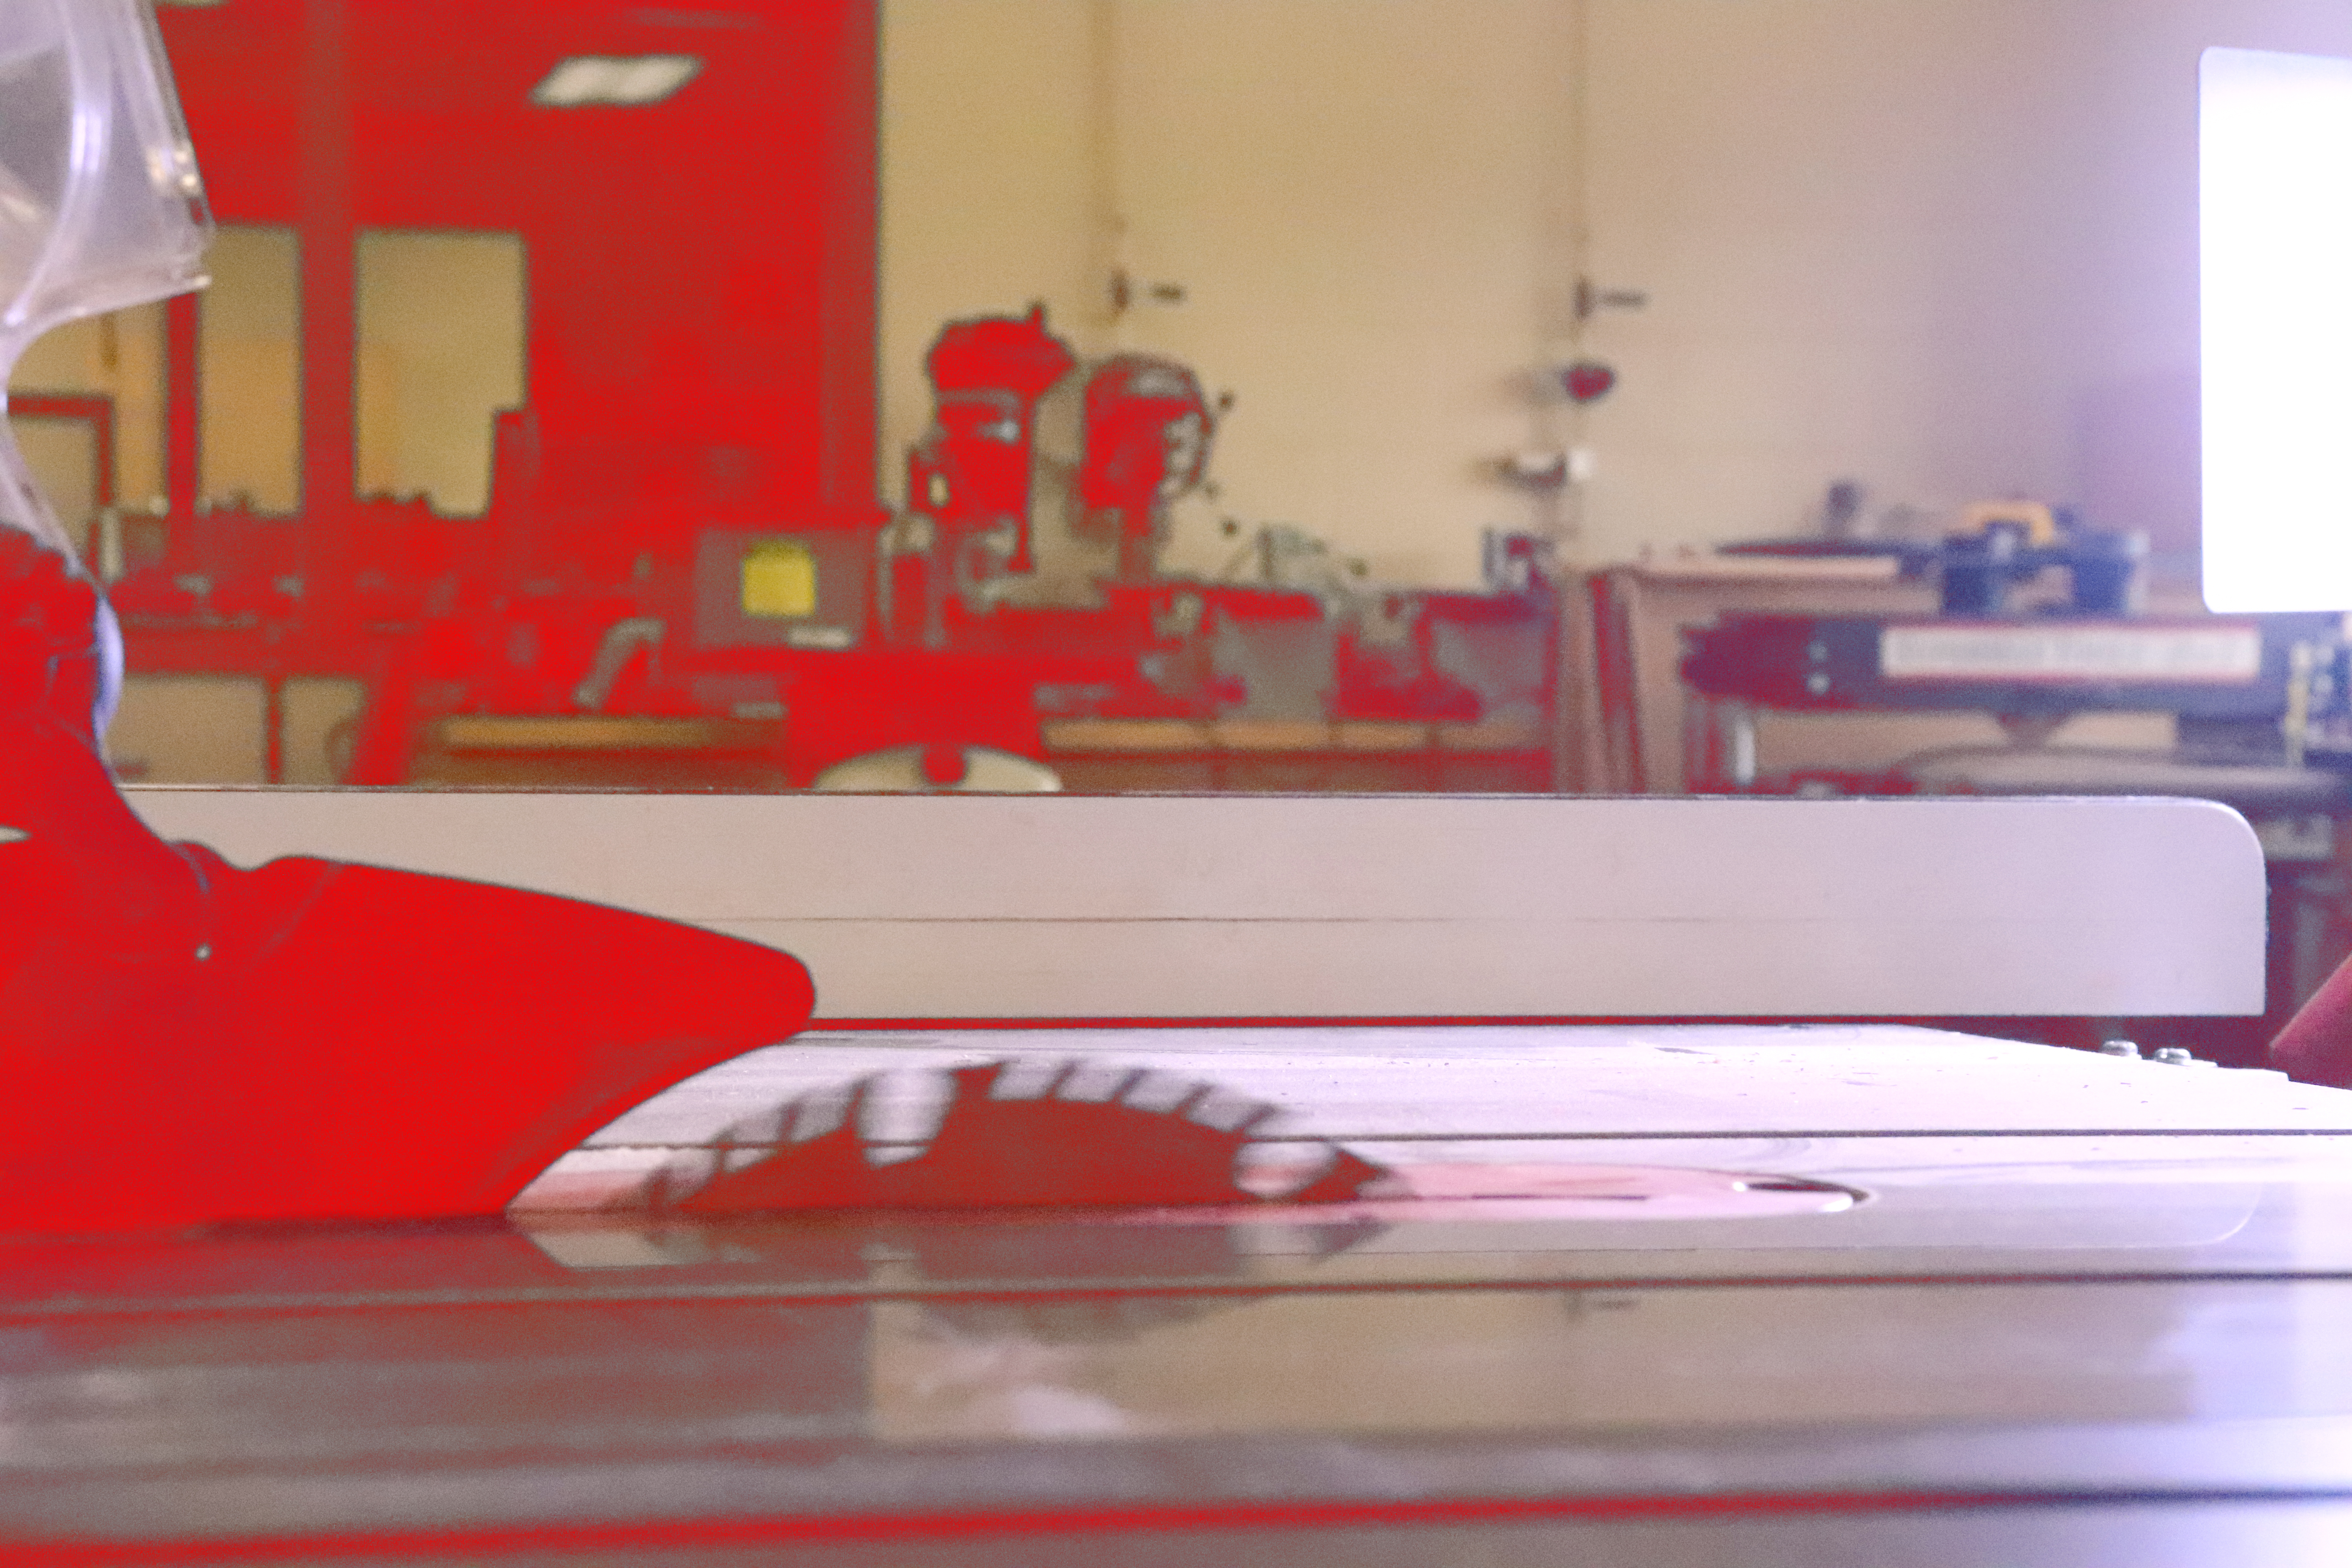 |
This photograph represents blured motion, and used a 1/800 shutter speed. The ISO was set on 25600, because I couldn't get it bright enough in the woodworking room. This was edited in photoshop by making the black colors red, which also gives the actual blade has a red hue. |
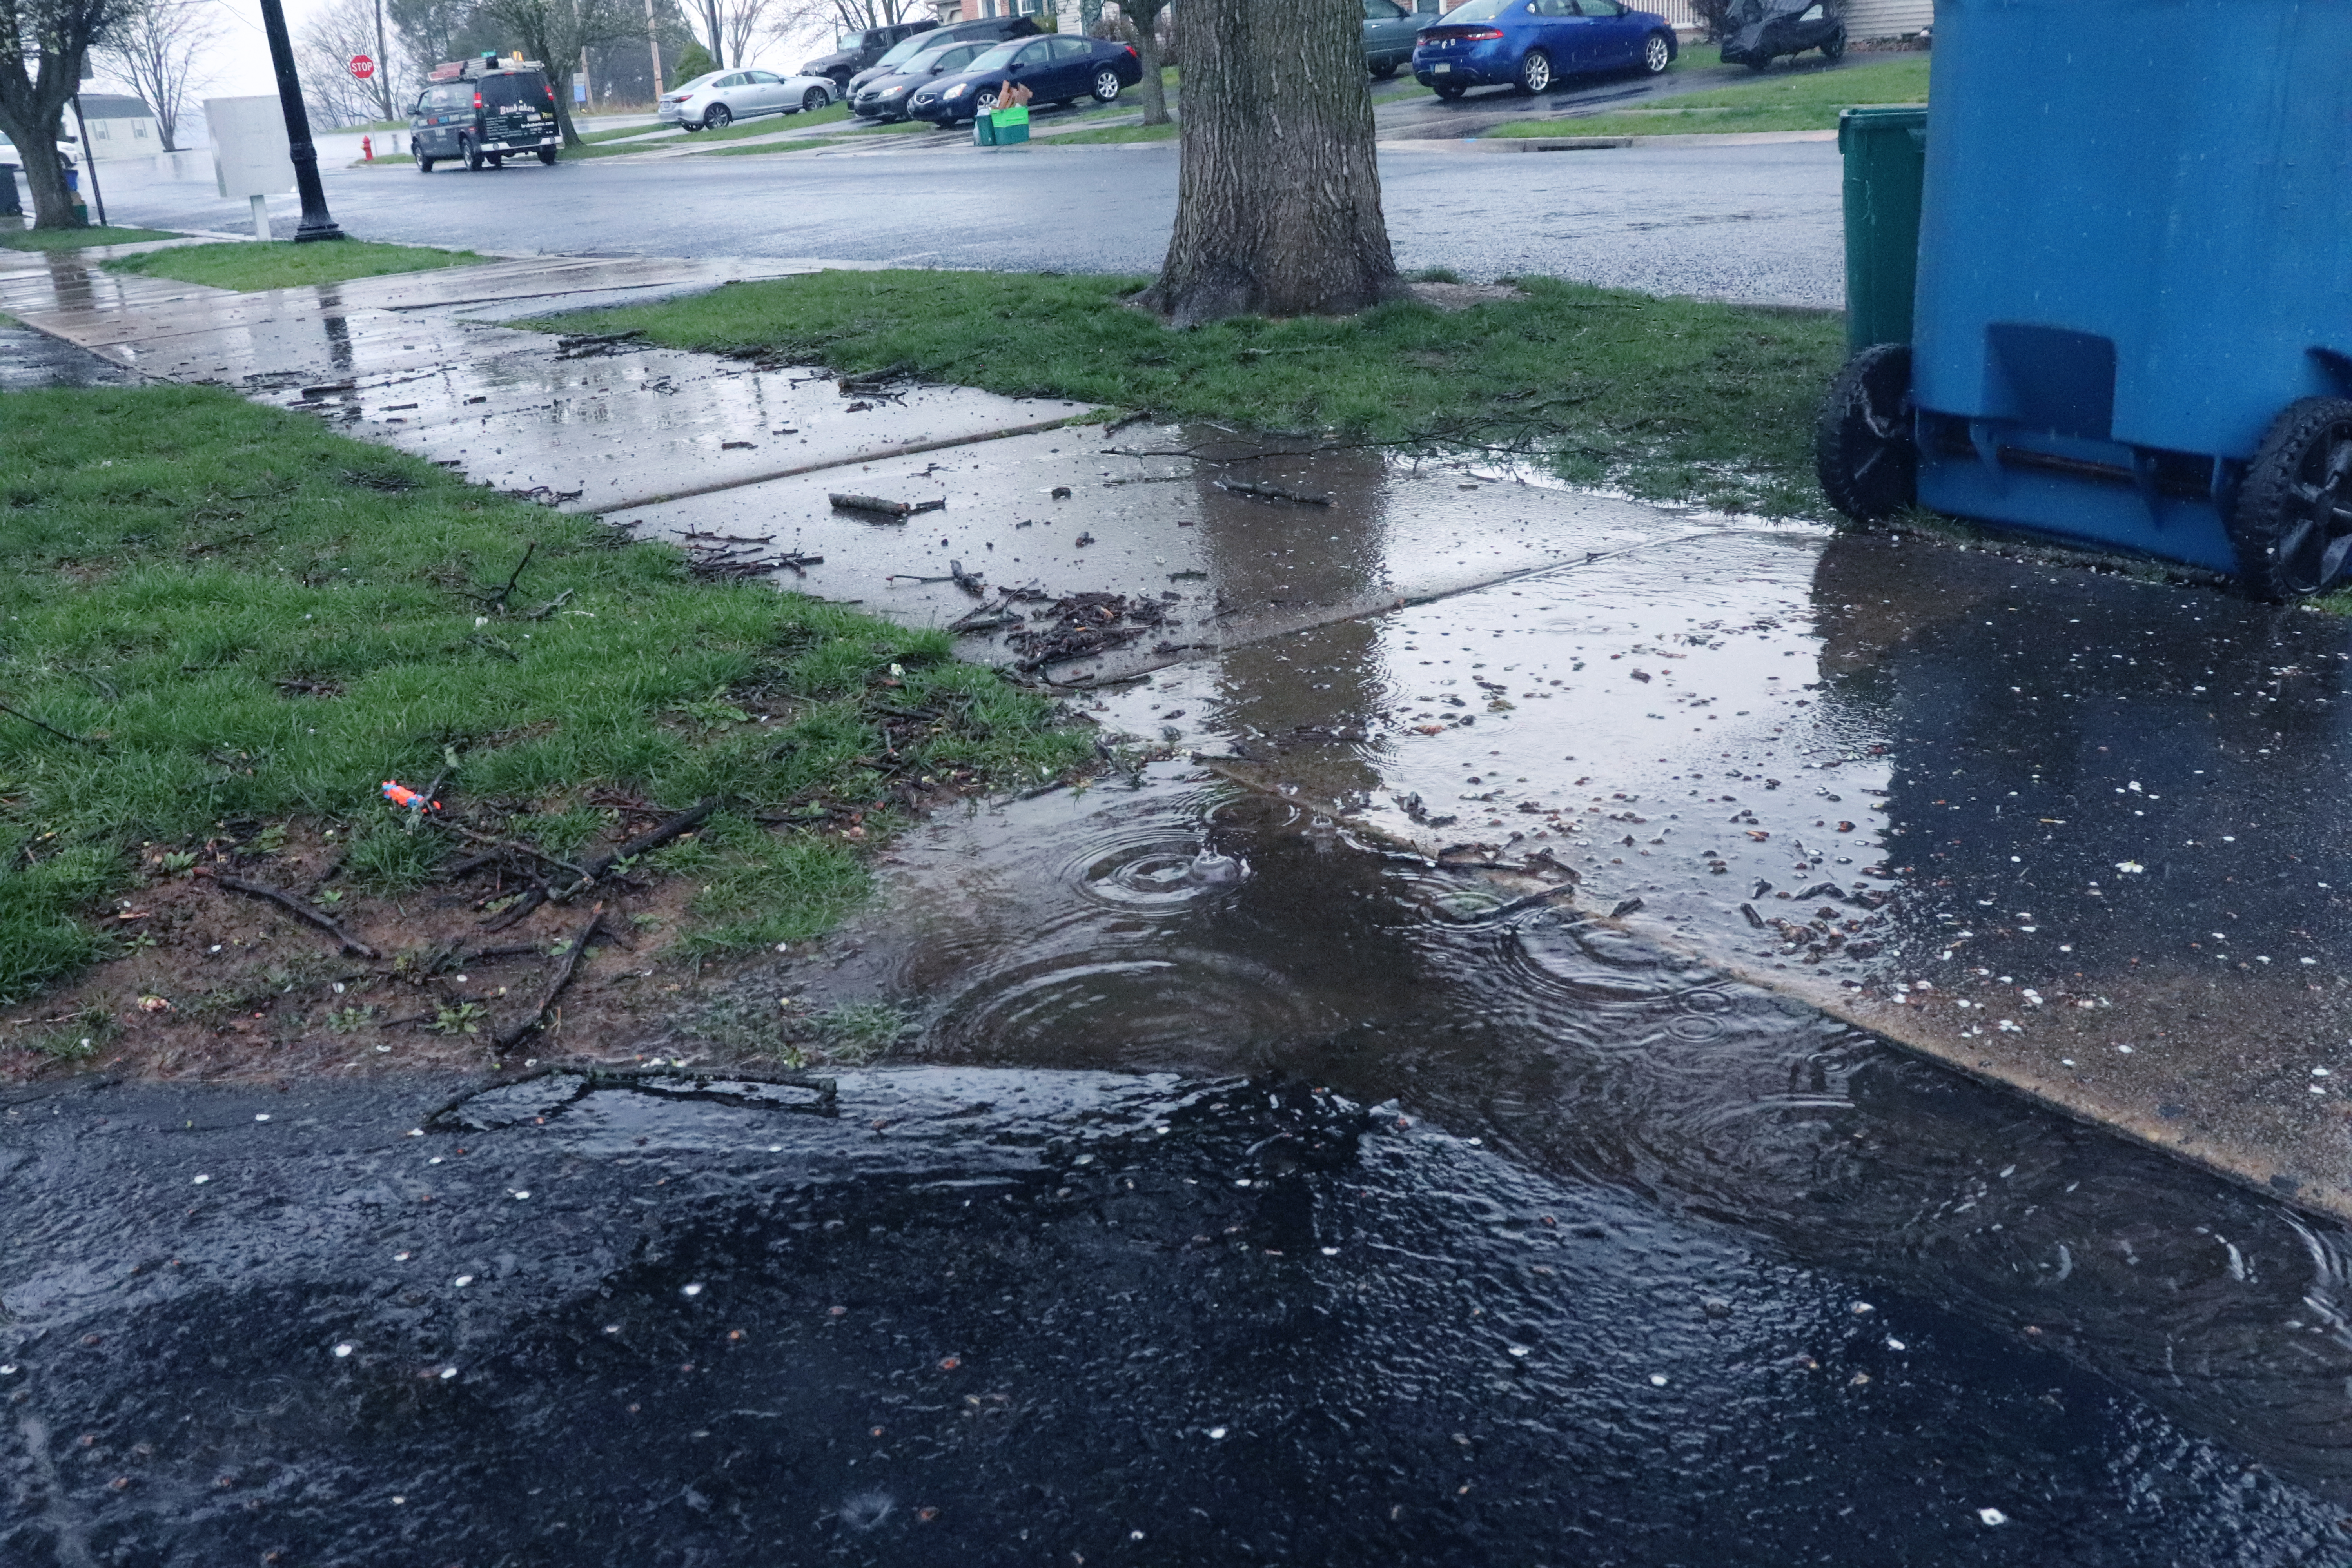 |
This photograph reresents frozen motion, and used a 1/800 shutter speed. The shutter speed was chosen to allow the different puddle shapes to be captured by the camera. The ISO was set on 6400. Any less would have made the photograph very dark, and it didn't need to be any higher. This photograph was edited in photoshop by changing the color balance, and adding a cyan hue. | 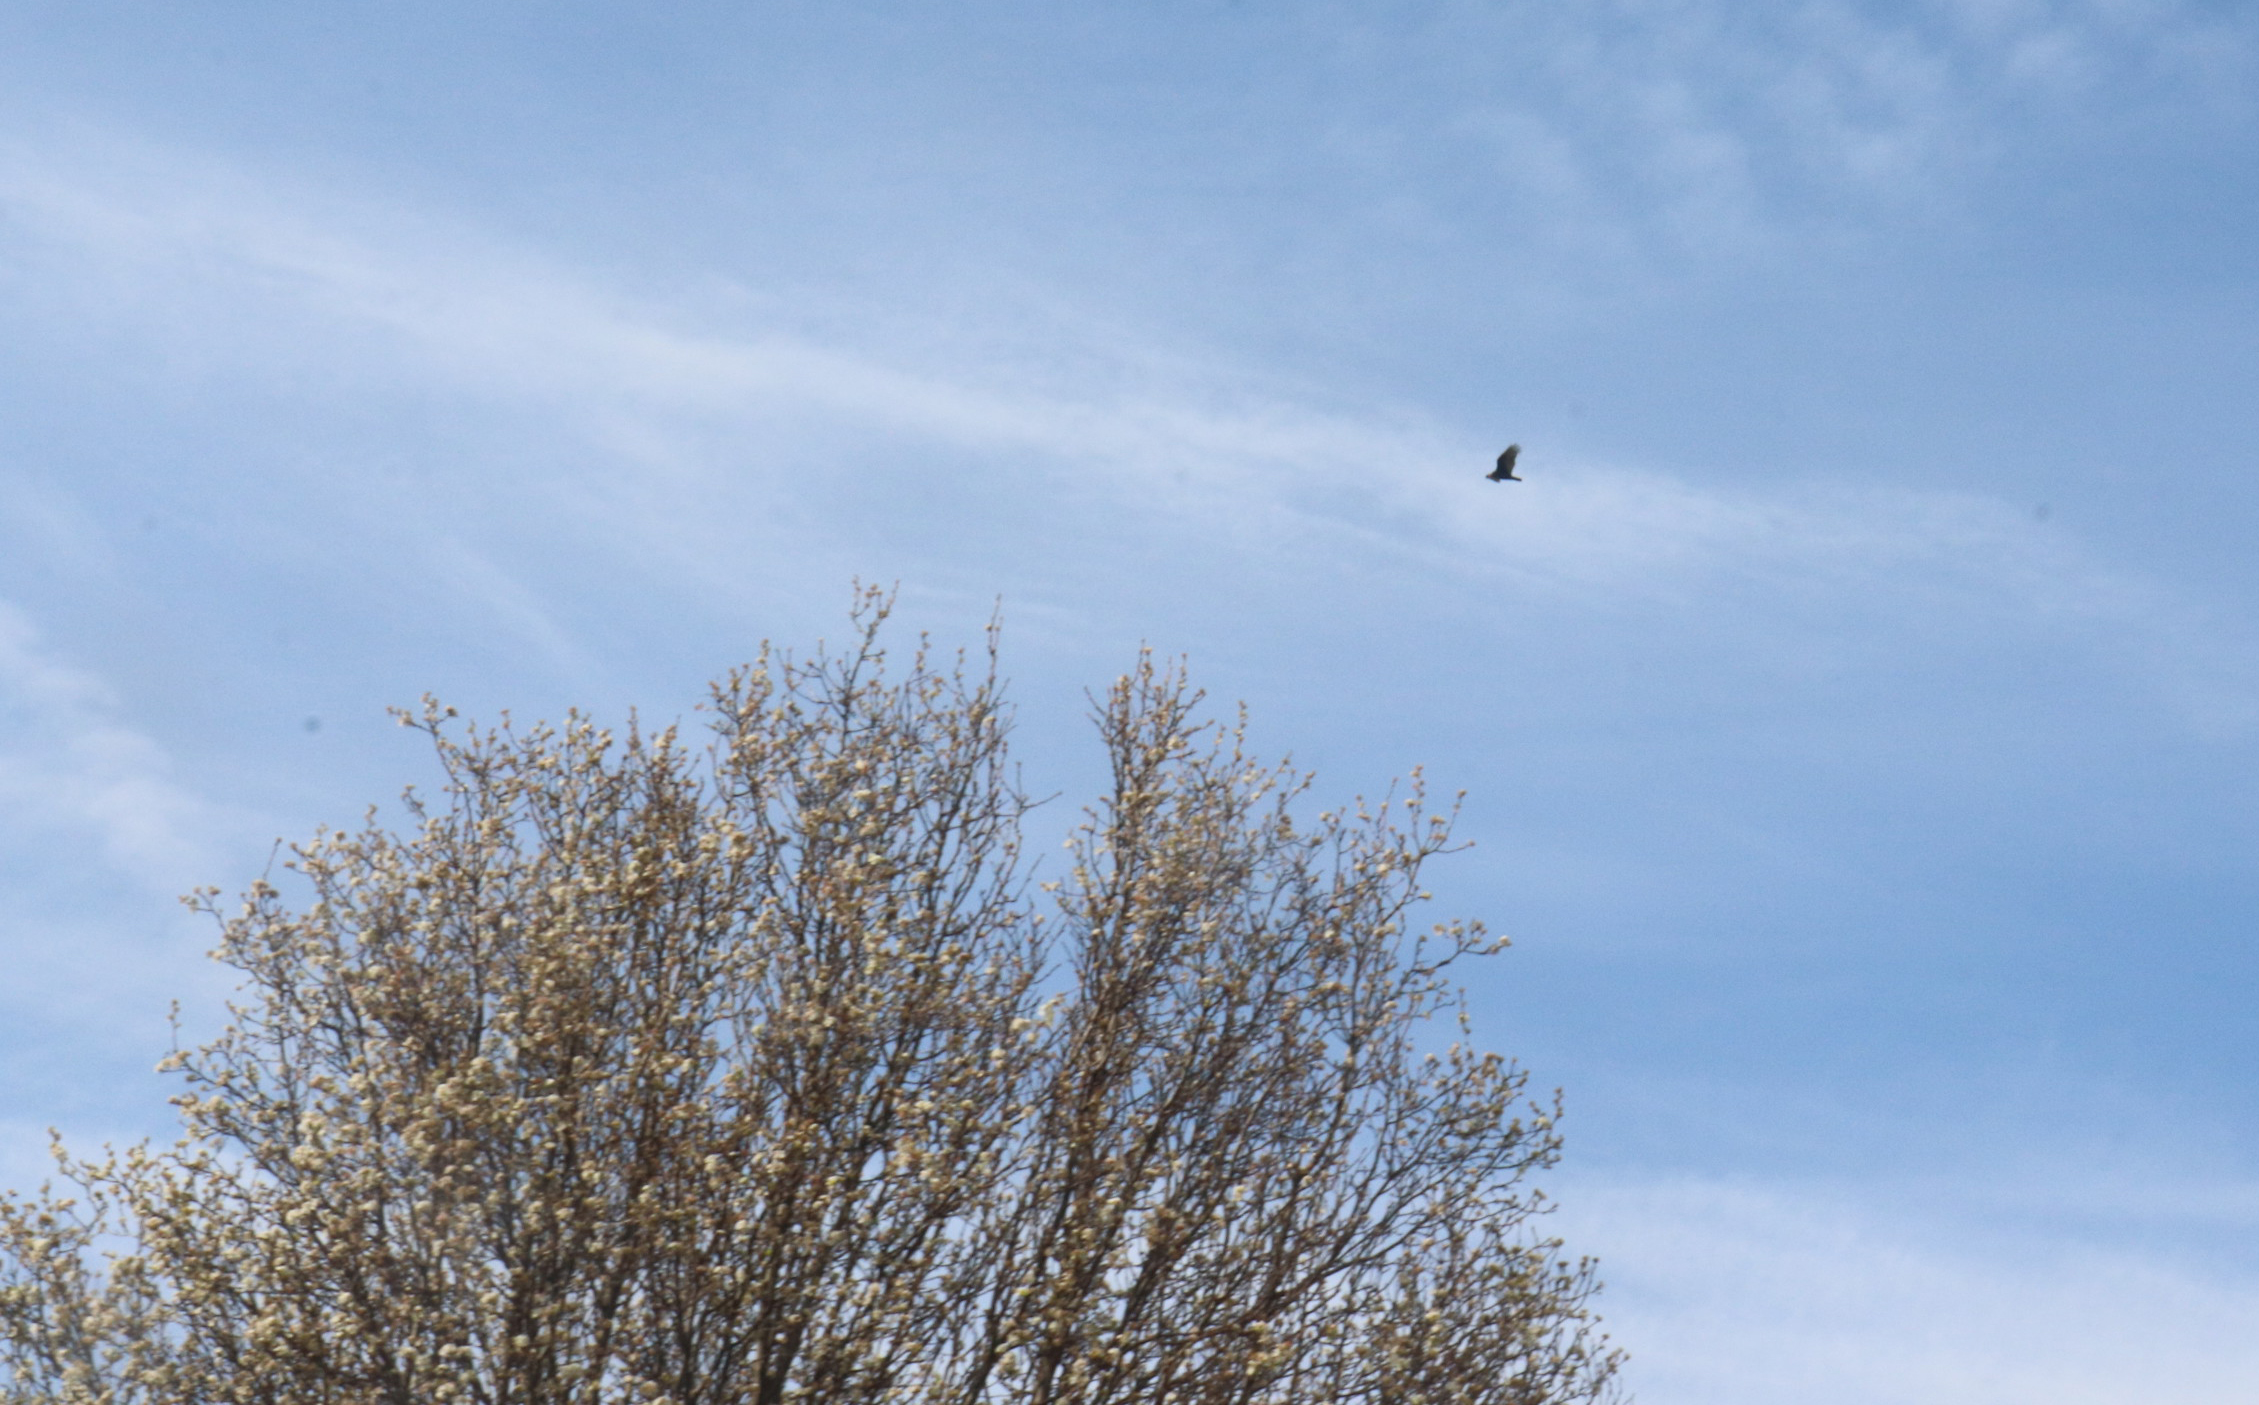 |
This photograph represents frozen motion, and uses a 1/125 shutter speed. The shutter speed was chosen to allow for the bird to be frozen as it is flying in the air. The ISO was set at 800, because I wanted the photgraph to be bright, without making a very grainy image. The photograph was edited by using levels. |
 |
This photograph represents frozen motion, because the light stick was being moved around rapidly while I was taking photos. The shutter speed was chosen to allow the light stick to be frozen as it was moving. The ISO was set at 800, because I didn't want it to be super low, but I also didn't want it to be very large. This photograph was edited by using camera raw, by decreasing the "temperature", highlights, and increasing the shadows. The photograph had colored grain, so this was able to remove it. |
| Independent Series: Nature | |
| My series is about Nature, and different elements of nature.
I have chose this idea for my series becuase I wanted to be able to highlight different aspects of
nature and
outdoors. I originally wanted to just do skies, but I figured that may be hard to get pictures of,
so I went to do
nature in general, which included skies.
My goal for this project was to be able to exhibit different styles, using nature. I have taken photos of plants, trees, animals, and skies. I have exhibited being able to use shutter speed and aperture to my advantage. I was able to freeze the different movement of the plants, because most times I tried to take photos of plants, there was a slight breeze. Composition allowed for me to take more interesting photographs. I have learned how to use HDR to enhance photographs, and this style of photography allows for there to be colors restored in the photograph. To do HDR photography, you need to do the following steps
|
|
 |
This photograph used an ISO of 100, a shutter speed between 25, 30 and 80, and an aperture value of f/5.6 across all 3 copies. This photograph is deep DOF because I wanted the entire photograph to be in focus. To edit the photograph I used Photoshop to merge the three photographs, and then I increased the brightness and contrast. I wanted to make my photos have a better cotnrast, and I decided that for this photgraph that the contrast should apply to the entire photograph, not just a local area. |
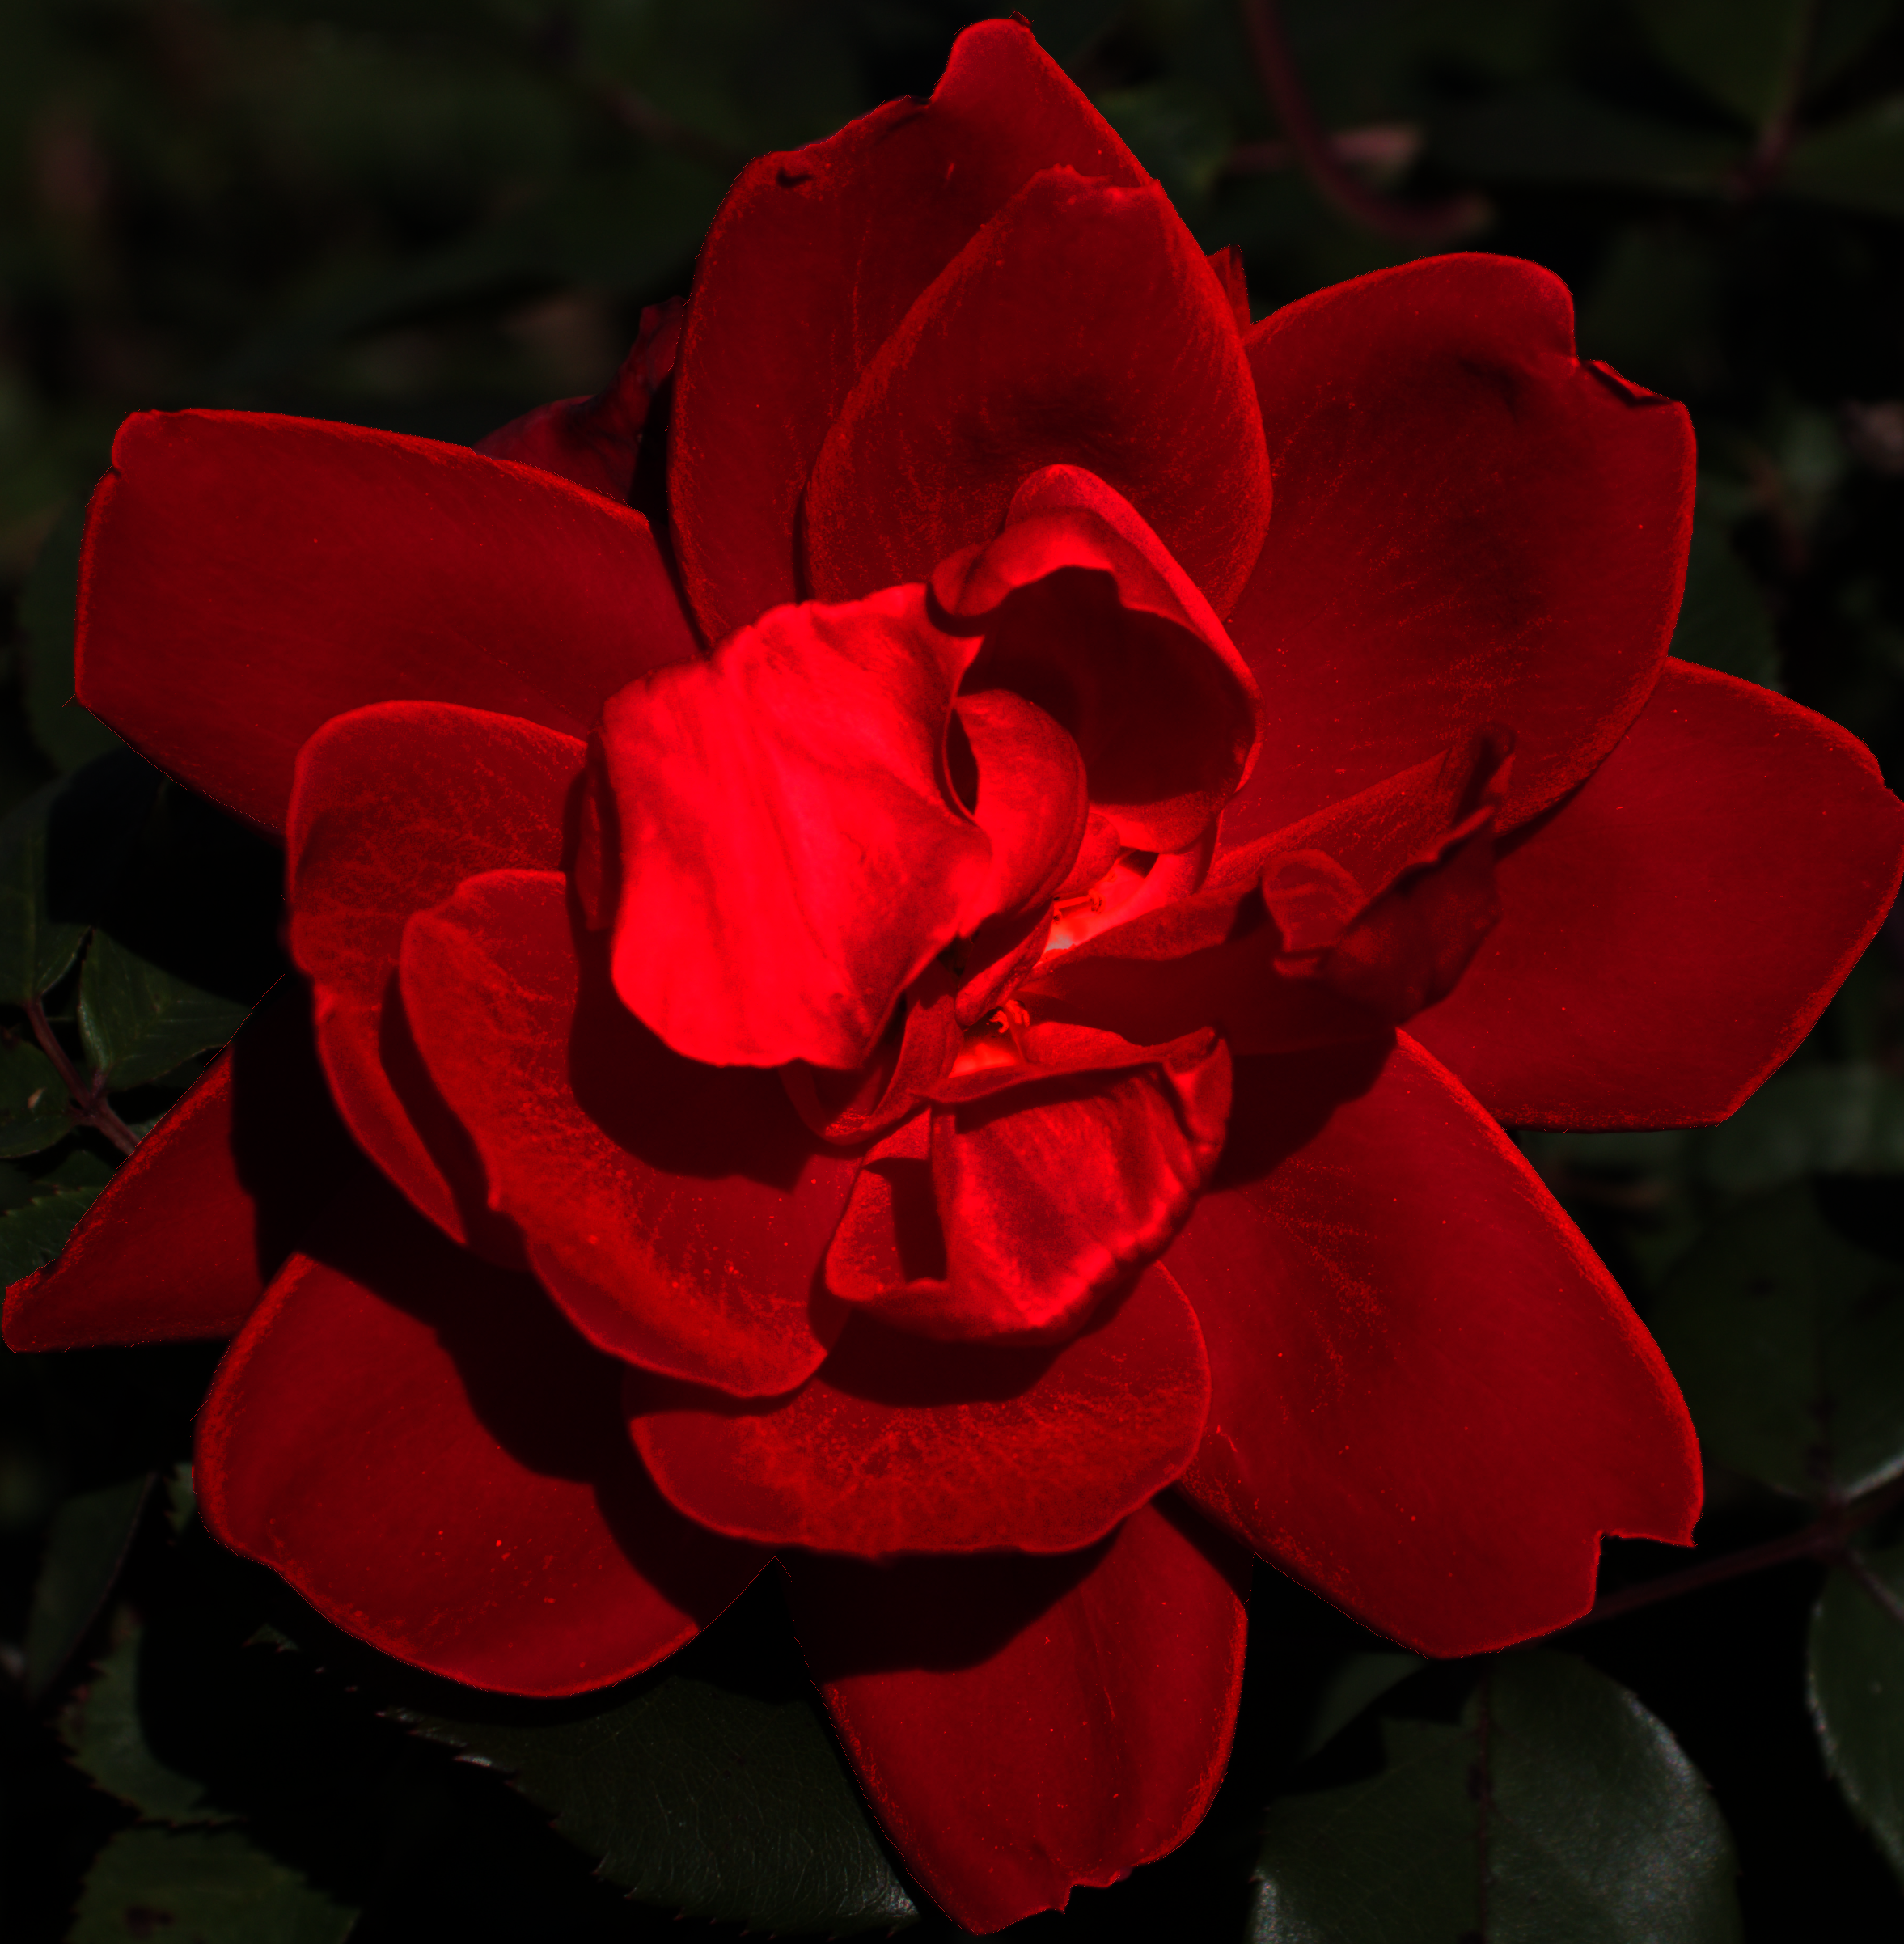 |
This photograph used an ISO of 100, and an unreasonably fast shutter speed of 1/800. The aperture value is f/5.6 Looking back, I should've probably increased the ISO to at least 200 to lower the shutter speed or changed the aperture to a higher value. This photograph was originally going to be an underexposed of an HDR, but I decided that I liked the photgraph. This photograph uses shallow DOF because the background is out of focus. This photograph was edited with GIMP 2.10, by selecting the rose and giving the photograph an exaggerated shade of red. I liked the look of the photograph, but I wanted to completely remove the background. I wanted this to still count for the project so instead of removing the background I kept it but made the rose have a different color to help catch the eye and make it more interesting. |
 |
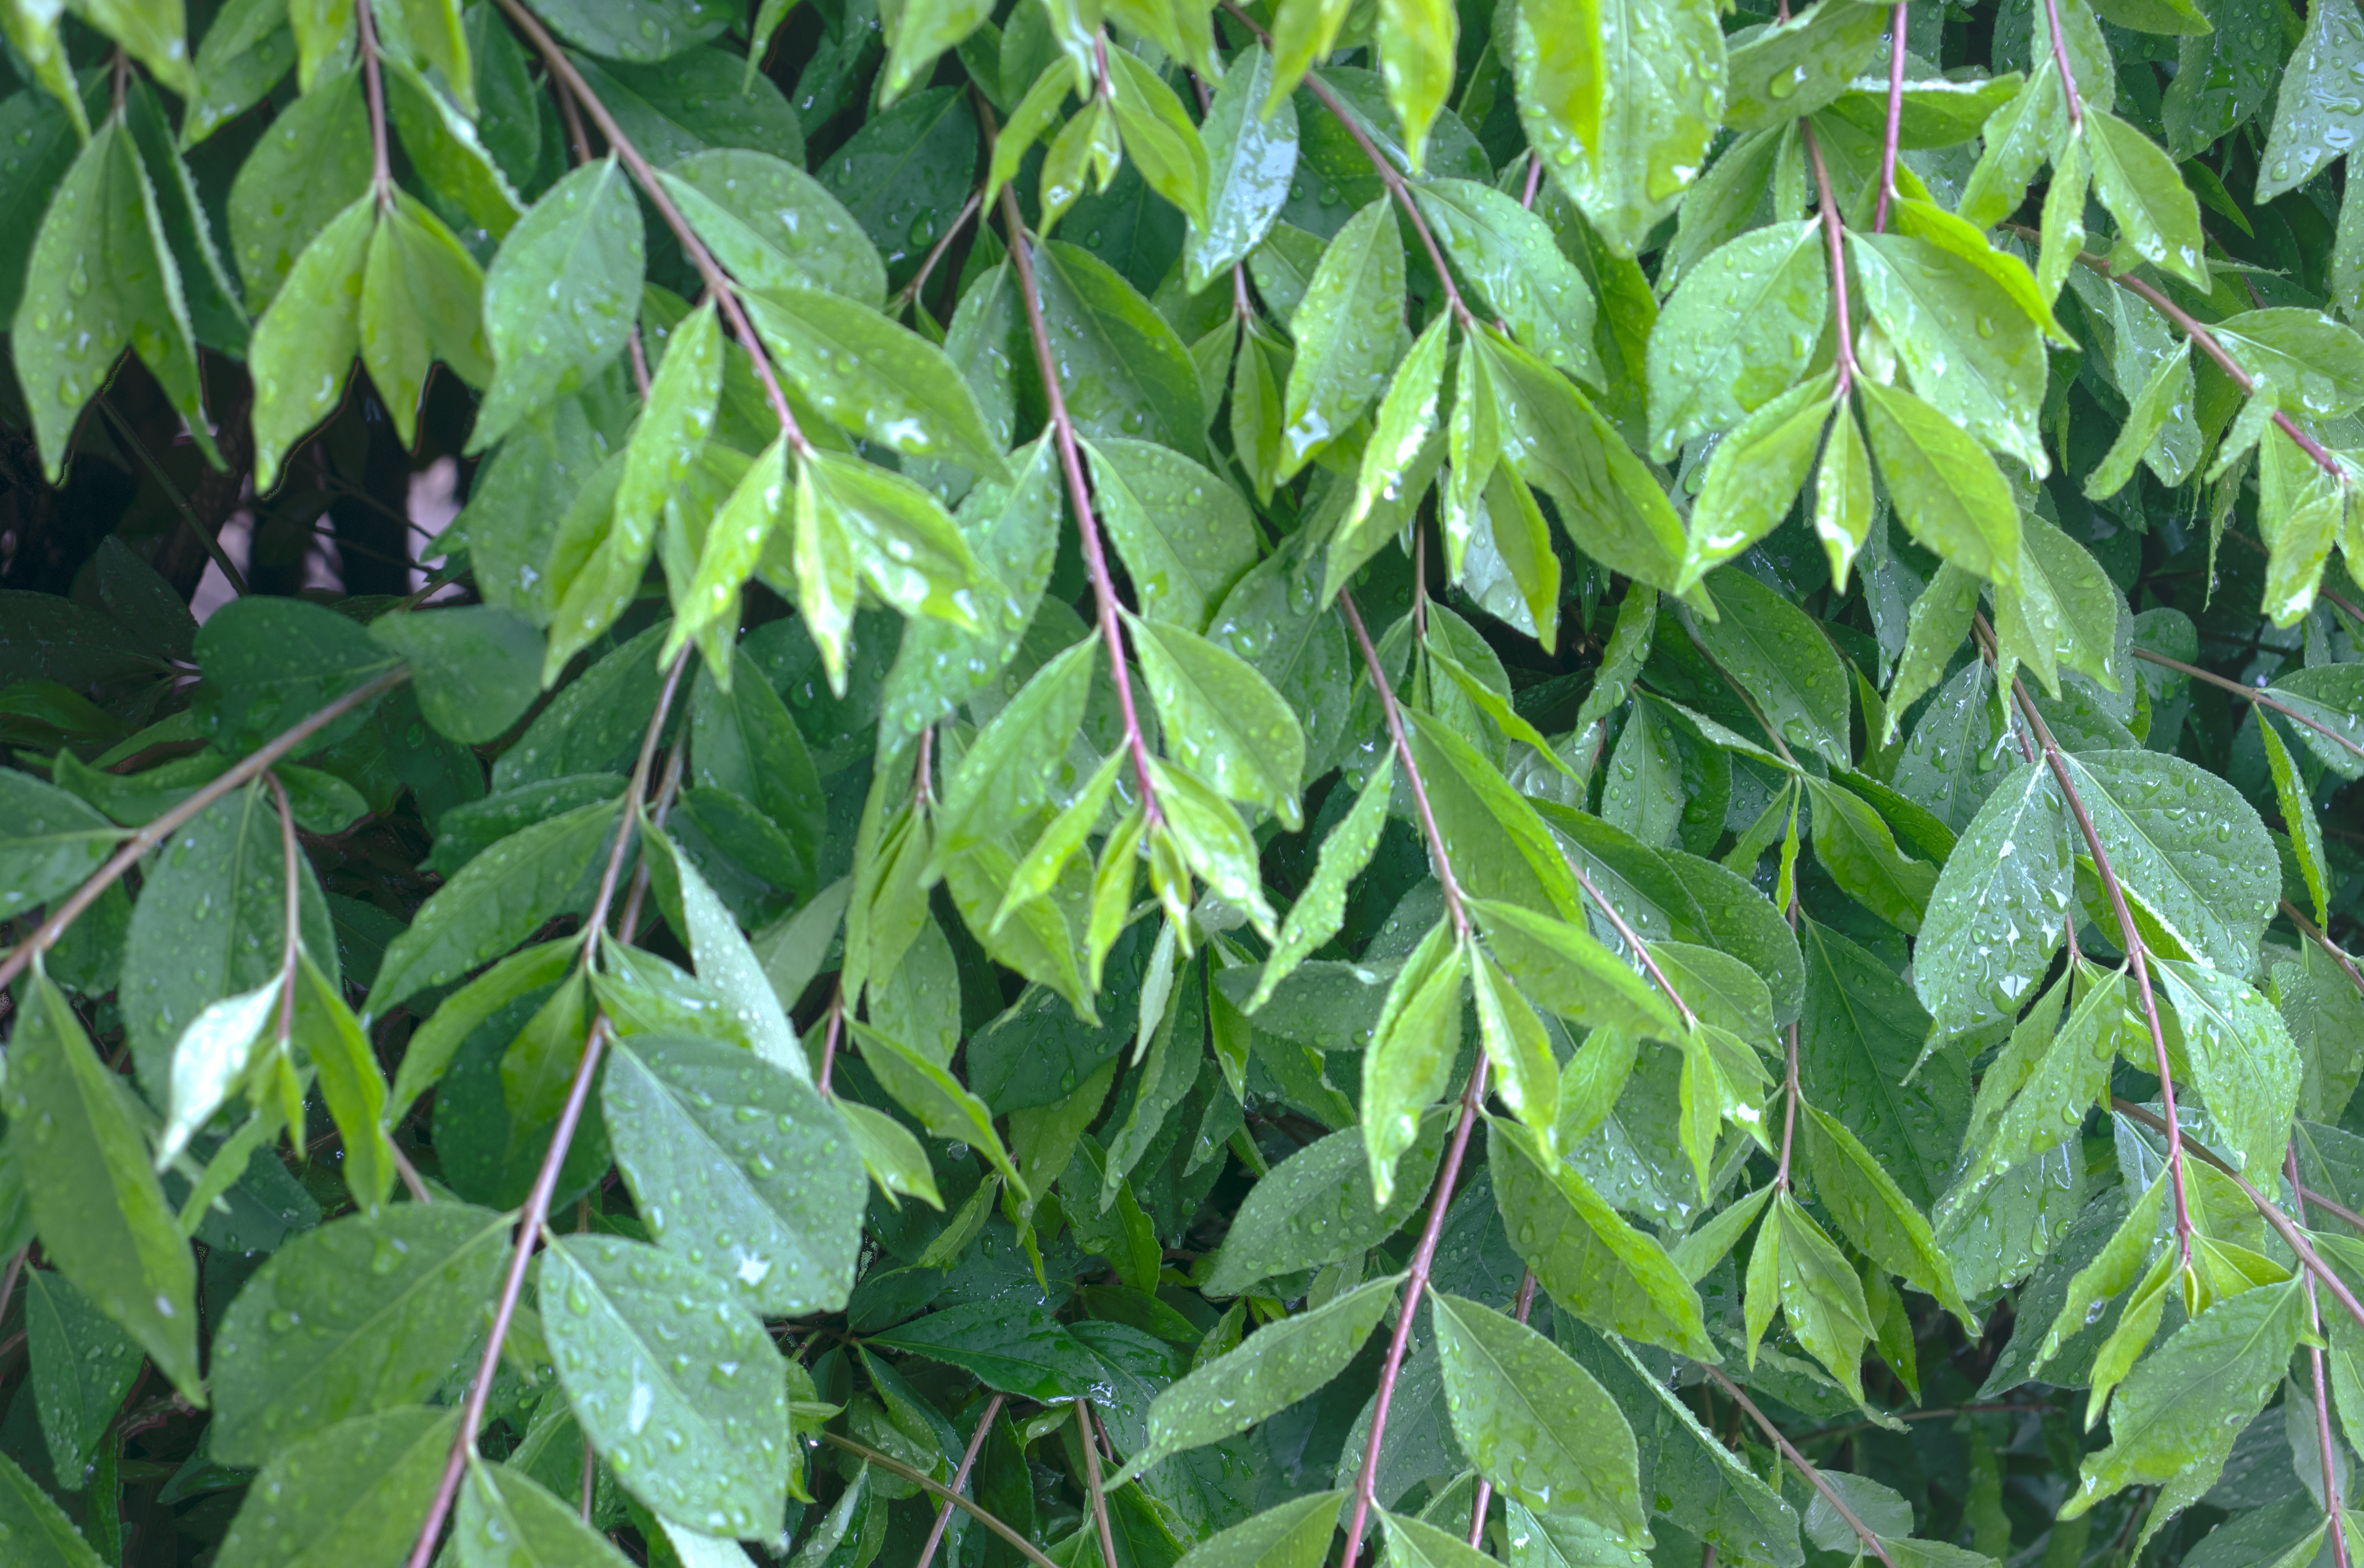
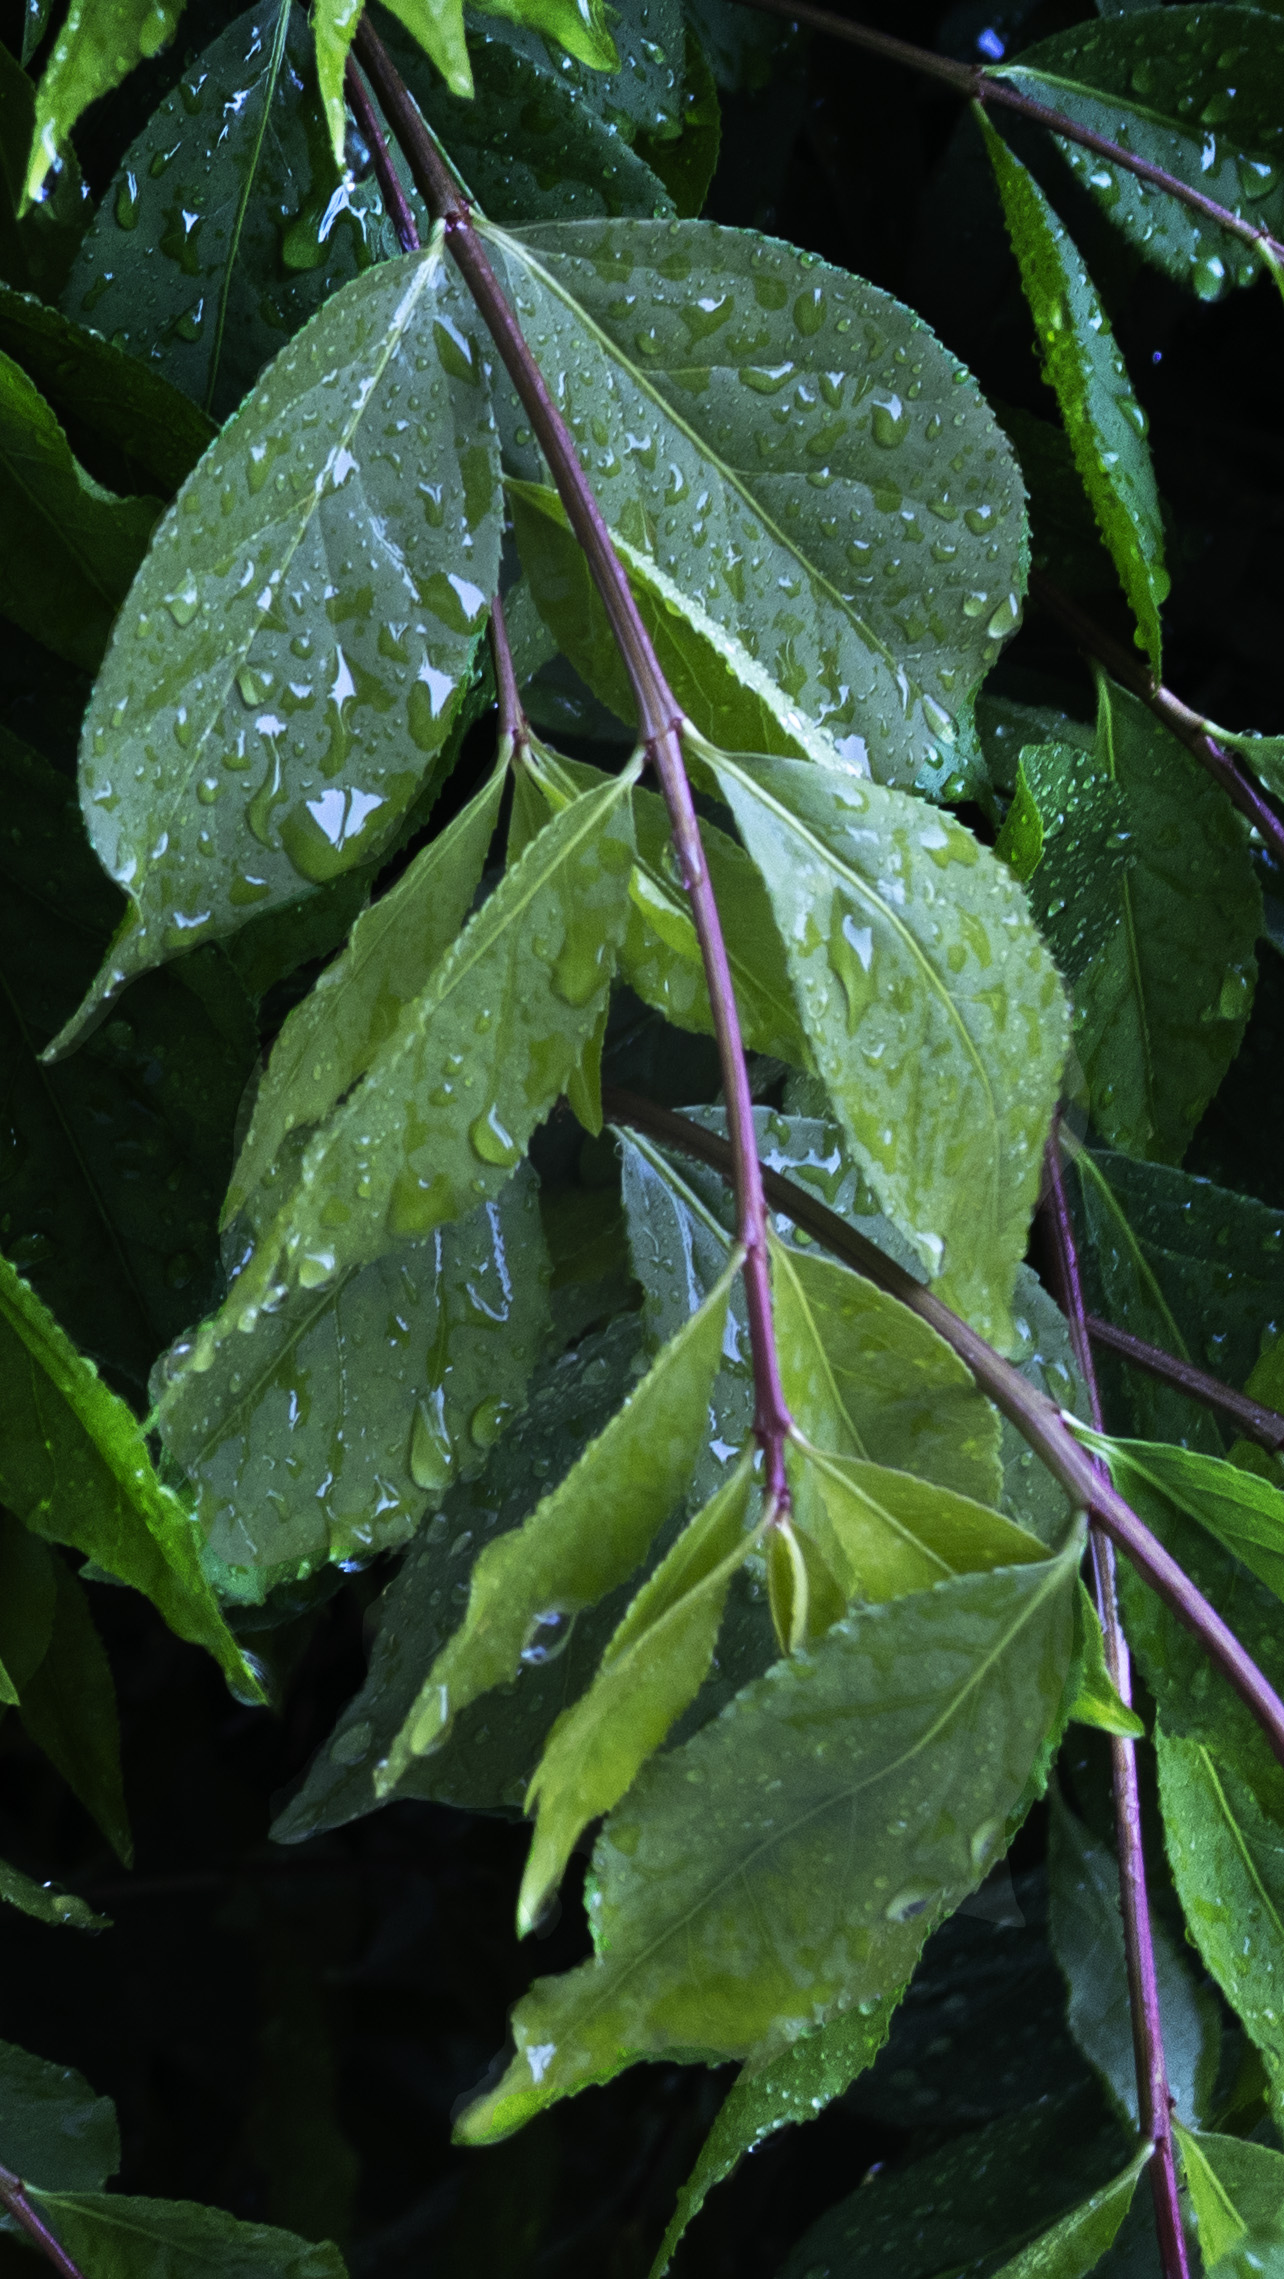
This photograph used an ISO of 100, and a shutter speed of 1/800. The aperture value was set at f/5.6. I wanted the photograph to have a correct exposure. This photograph was edited with GIMP. I brightened the photograph and increased the contrast. This photograph uses a shallow DOF. I wanted the leaves in the background to be blured out, and as invisible as possible, so I adjusted the aperture. |
 |
This photograph uses an ISO of 100, a shutter speed of 1/80 and an aperture of f/5.6. This photograph was originally going to be the underexposed version for a HDR photograph, but I liked it so I brightened the photograph, and then I was able to change the exposure. After this, I decided to crop into the photograph, and darken the background even more. This photograph uses shallow DOF because I wanted the background to be blured, while some leaves are in focus. |
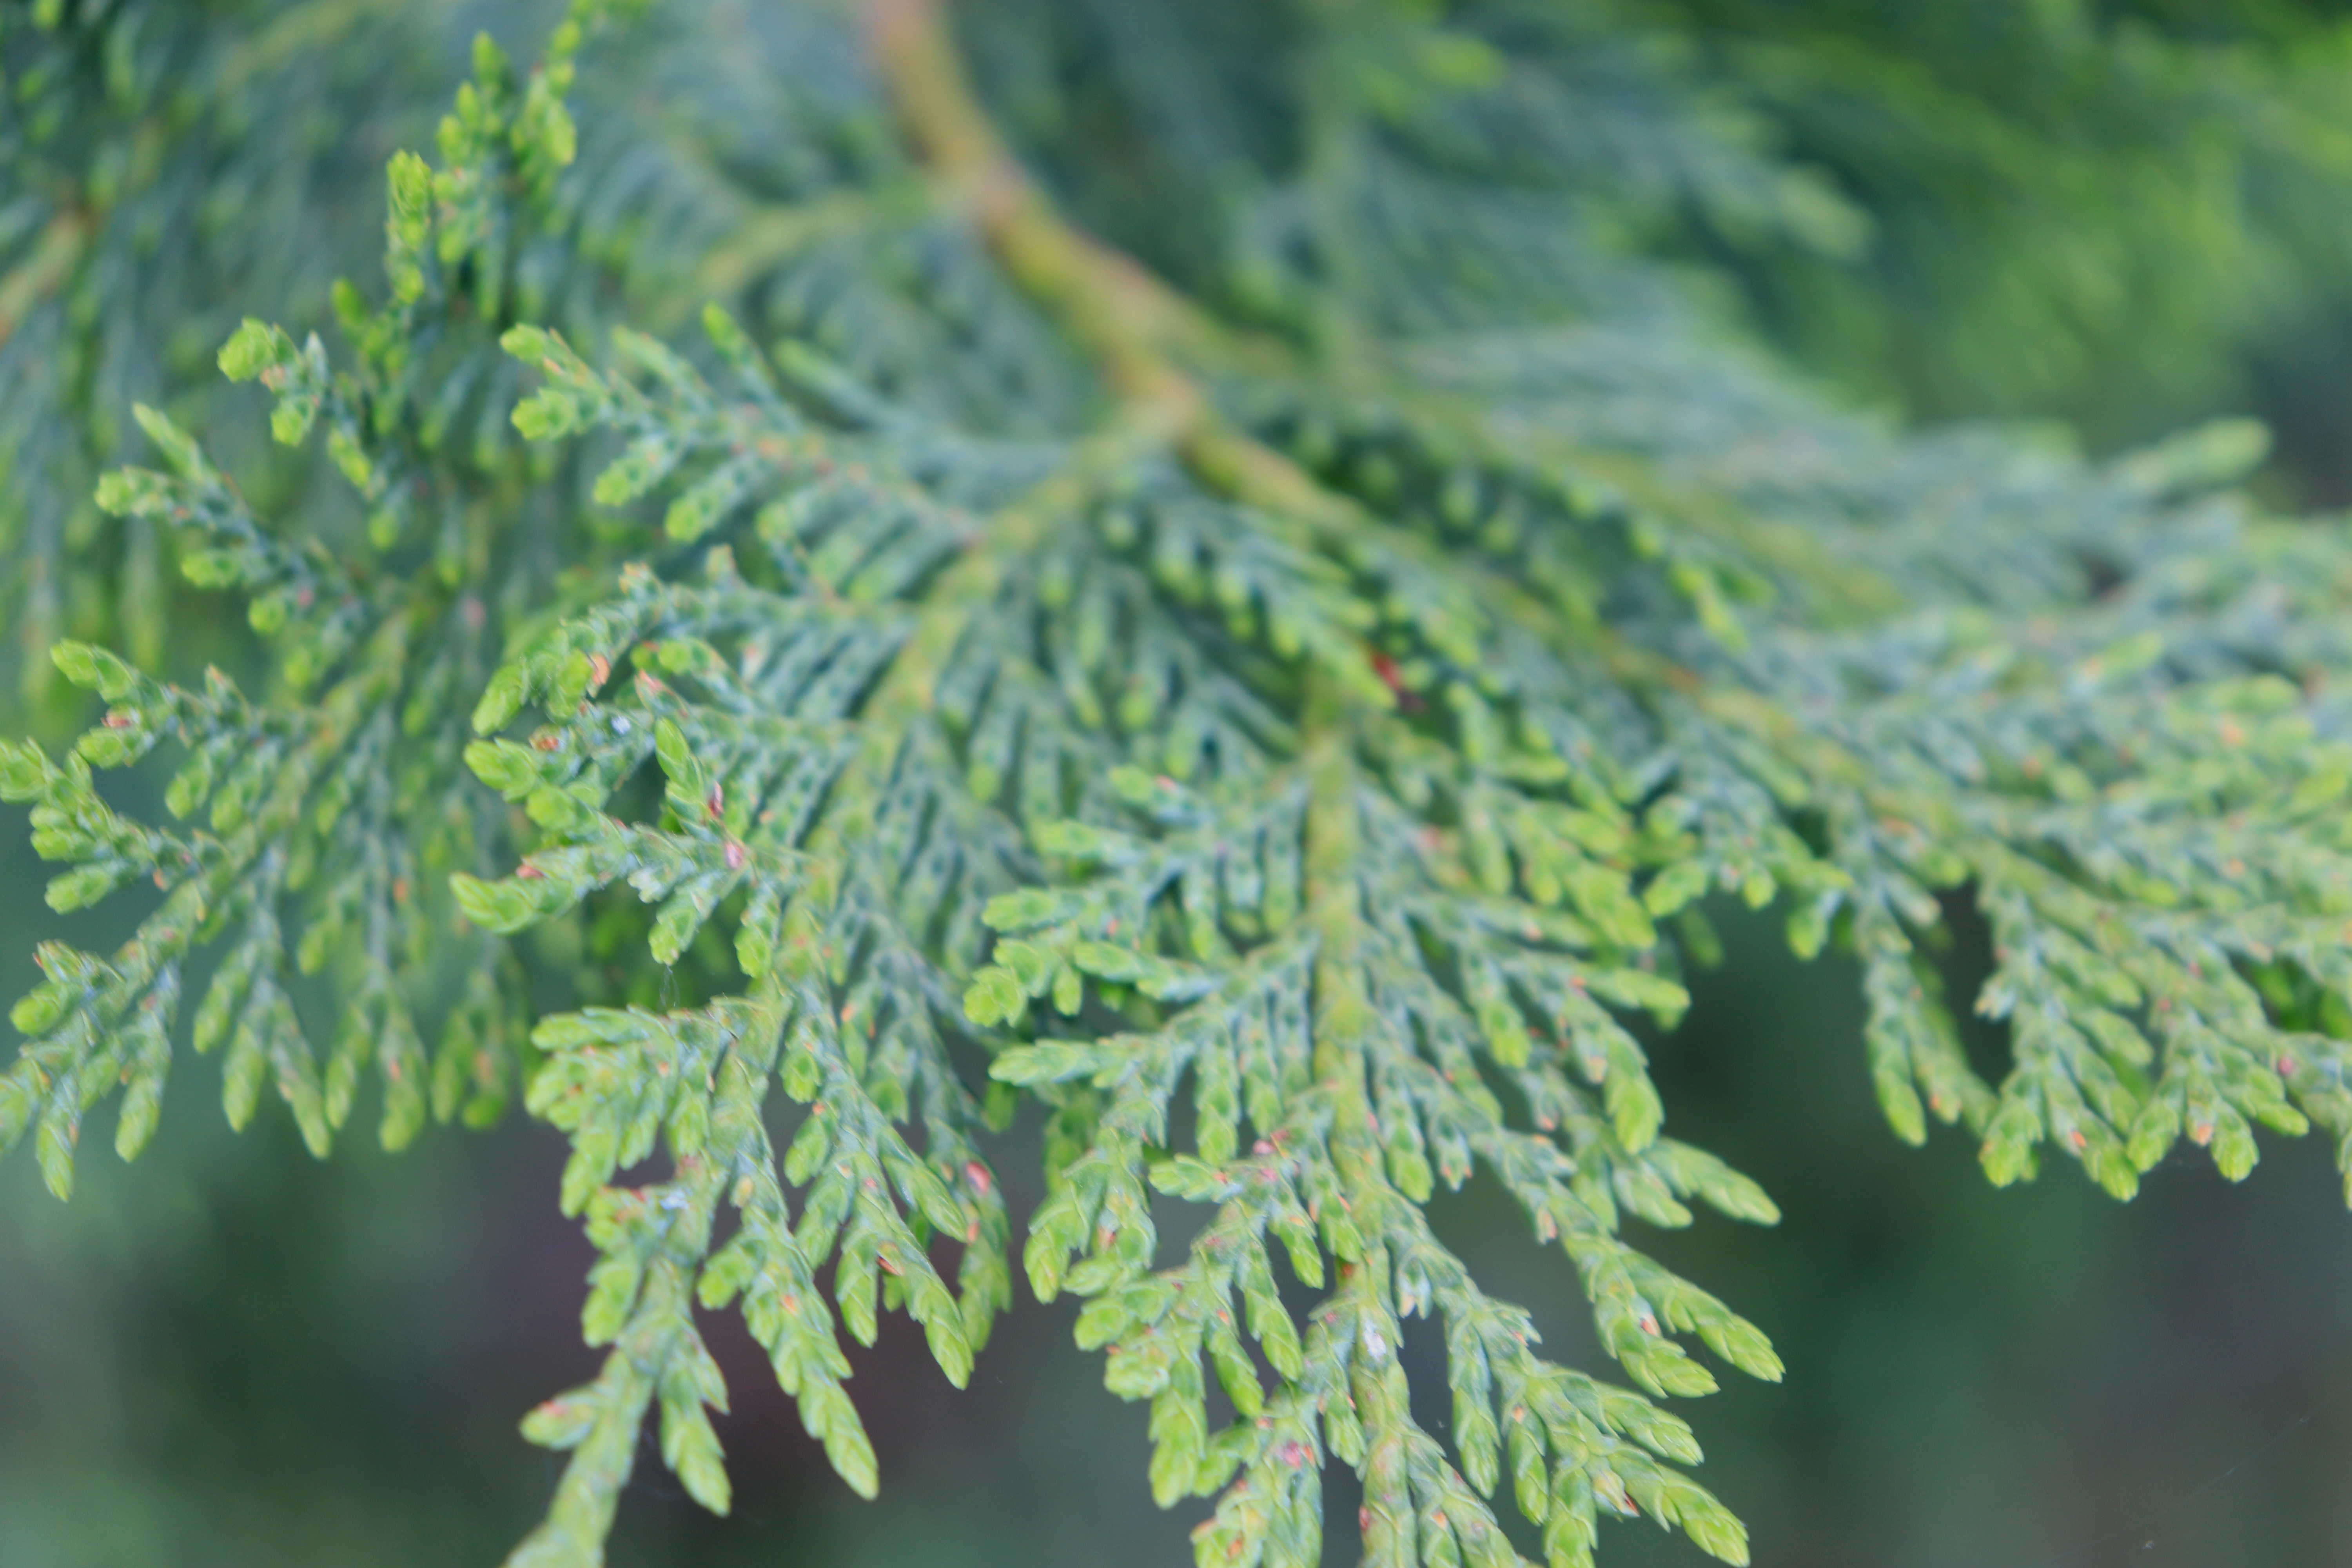 |
This photograph uses an ISO of 200, and a shutter speed of 1/40. This photograph uses an aperture of f/5.6. This photograph is shallow DOF becuase I wanted the tip of the leaves to be most in foucs, and as your eyes move up the photograph the photograph starts to get more blurry. This photograph was edited in GIMP, by increasing the brightness and the contrast. I changed some of the yellow from the photograph, and added contrast. |
 |
This photograph uses an aperture of f/29.0, a shutter speed of 1/8, and an ISO of 100. I wanted the entire photograph to be in focus, and I didn't want a grainy photograph. This uses a deep DOF because I wanted the photograph to be a landscape. I made the photograph grayscale because I wanted this photograph to look slightly different from the others in the sense of having different colors. |
 |
This photograph uses an aperture value of f/5.6, an ISO of 100, and a shutter speed of 1/25. This photograph is shallow DOF because I wanted the leaves in the foreground to be more visible than the leaves in the background. I chose these settings to allow for a correctly exposed photograph. This photo was edited in GIMP, and I increased the brightness and contrast to reveal more detail. |
 |
This photograph uses an aperture value of f/5.6, an ISO of 200, an a shutter speed of 1/40. This photograph is shallow DOF because I wanted this to be similar to framing, because you are looking through the background. I have modified my other settings to match a correct exposure. to a much clearer part of the bush. This photogrpah was edited in GIMP by increasing the brightness and contrast to reveal more details. |
 |
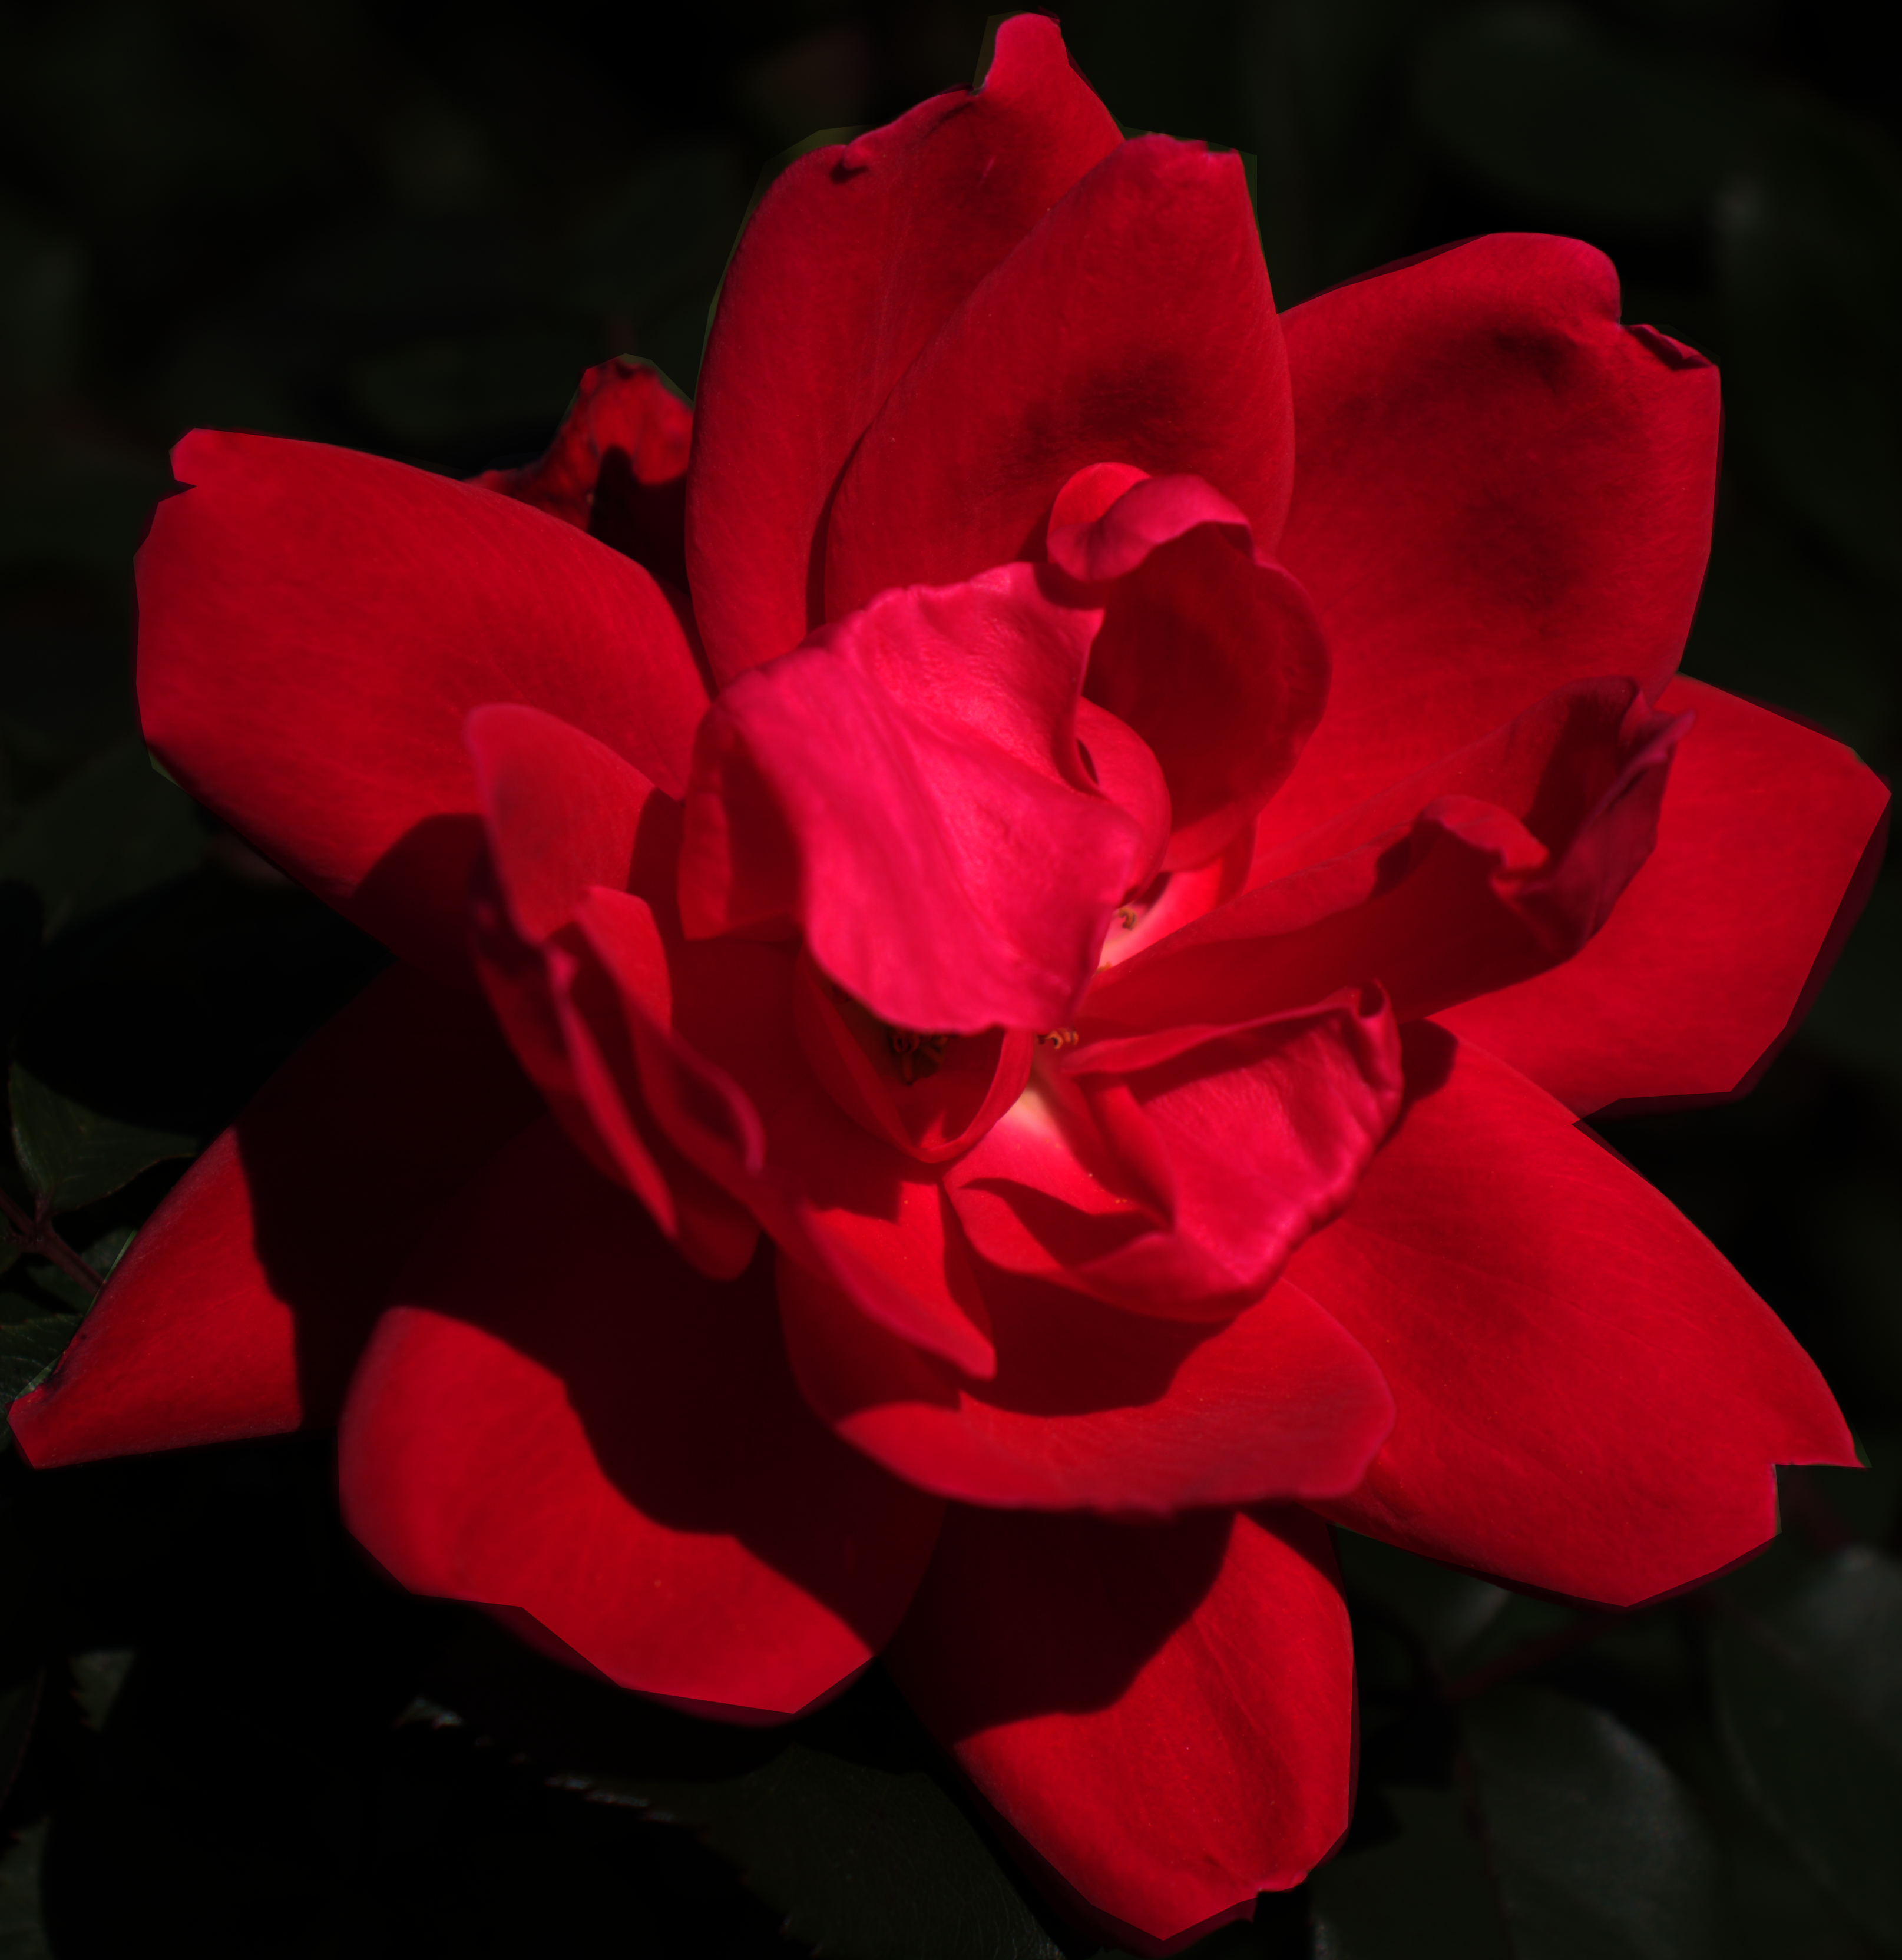
This photograph uses an aperture value of f/5.6, an ISO 100, and a shutter speed of 1/320. This photograph uses a shallow DOF because I wanted the background to be blurred out. I have picked these settings to allow for an underexposed photograph. This photograph was originally going to be a part of an HDR photograph, with this being the underexposed. I wanted this photograph to show the more details. I edited this photograph by increasing the contrast and slightly increasing the brightness. |
 |
This photograph uses an aperture value of f/32, a shutter speed of 0.6, and an ISO of 100. This photograph uses a deep DOF because I wanted the entire photograph to be visible, however I wanted to be able to look through the surrounding leaves to get to the Bird's nest. This photograph was edited in GIMP by taking the area around the nest, and decreasing the contrast and brightness slightly, and increasing the contrast of the nest. |